
Instagram and Facebook have updated their privacy policies due to which it is not possible for third-party apps, including social media schedulers, to post on personal profiles directly. However, using RecurPost, you can create posts and schedule them. We will help you post them via push notifications. Let’s see the steps.
To begin, please first log in to your RecurPost account. In case you haven’t made an account yet, click here to sign up.
Additionally, make sure you are logged in to your Instagram and Facebook accounts on both your desktop browser and mobile app. Once you are logged in, follow the steps below to create posts using RecurPost.
Step 1: Connect your Instagram Personal profile and Facebook profile
– When using browser on computer
On your Calendar page, you can find all the social media platforms that you have linked to RecurPost on the left side.
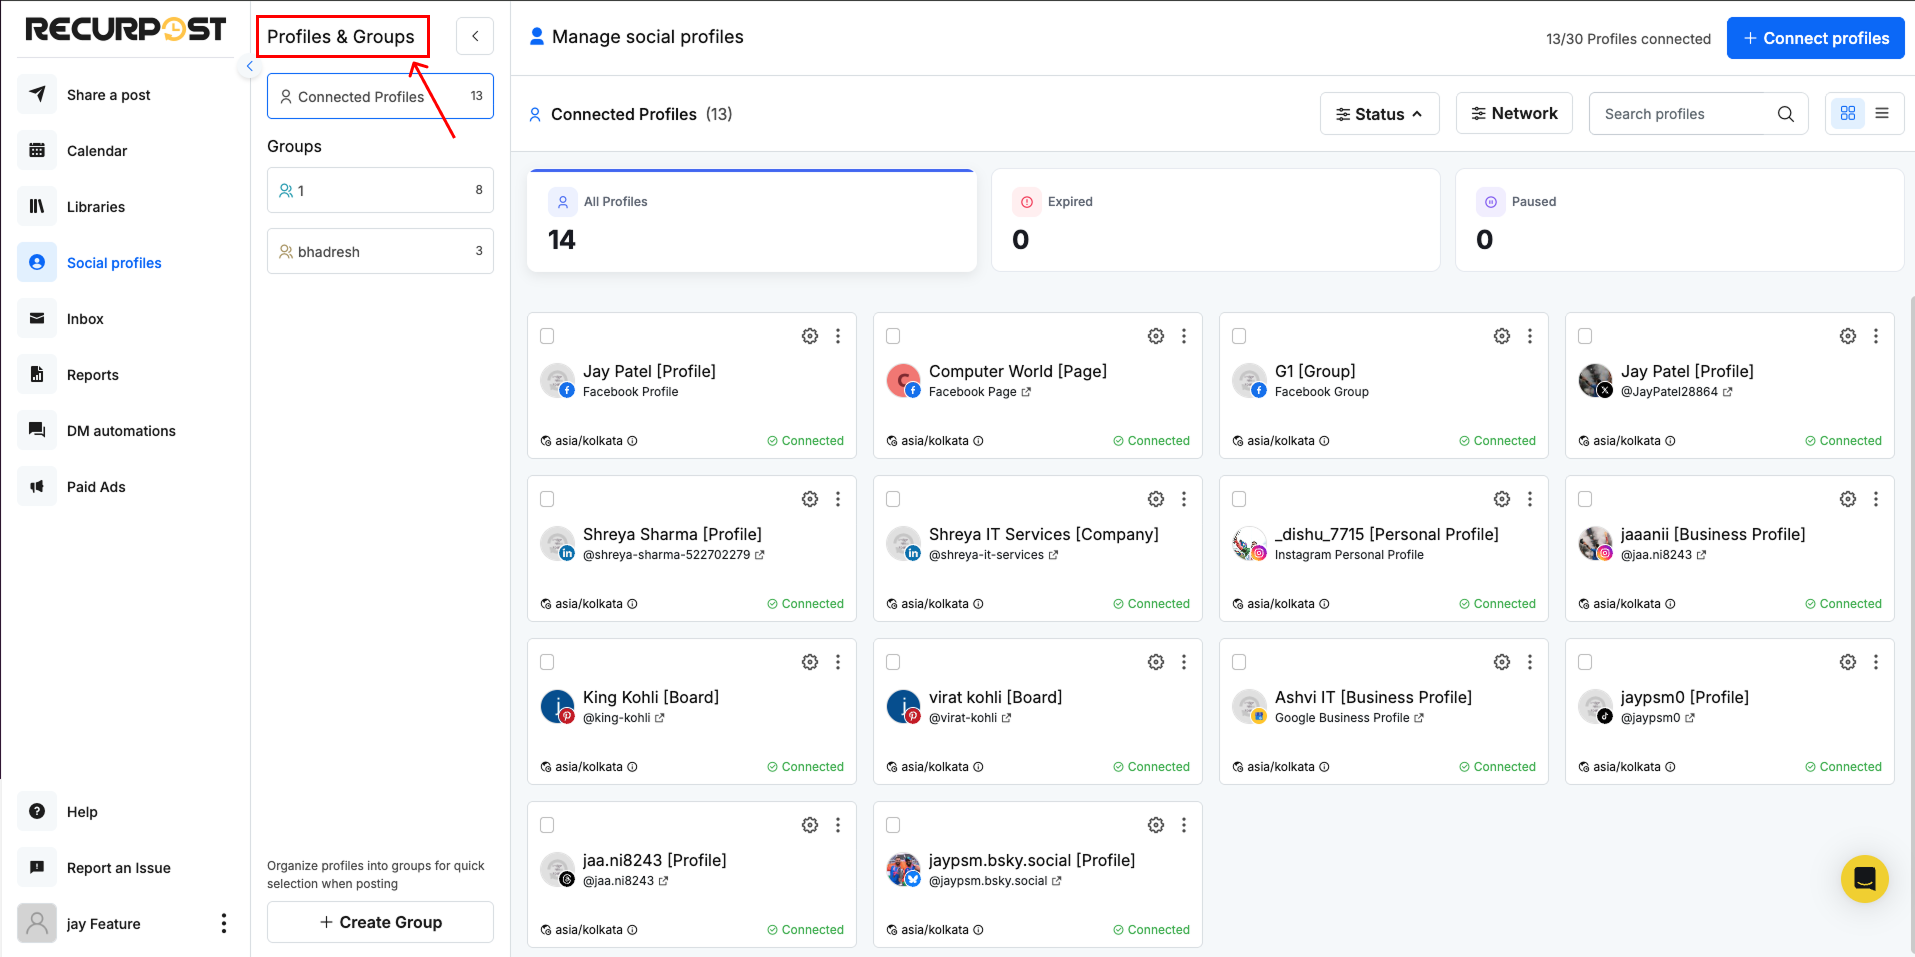
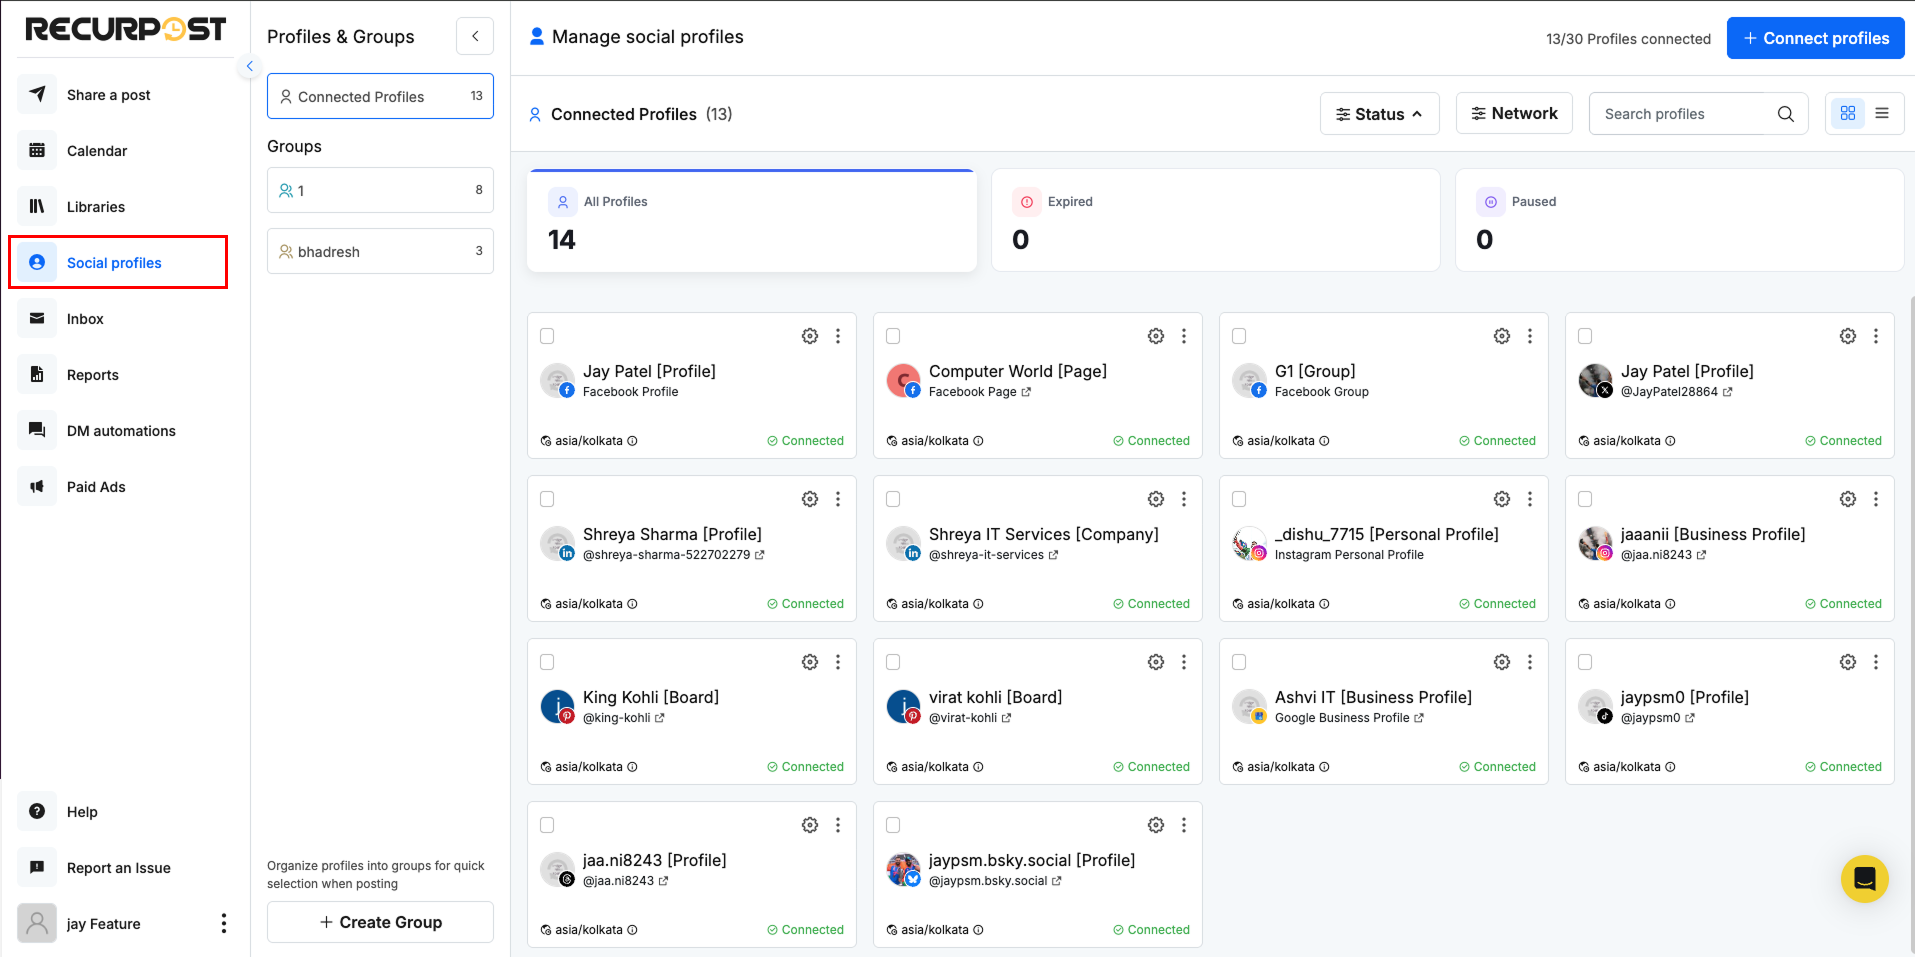
To add a new account, please go to ‘Social profiles‘ page and click on ‘+ Add social profiles‘ button, then you’ll see the below screen.
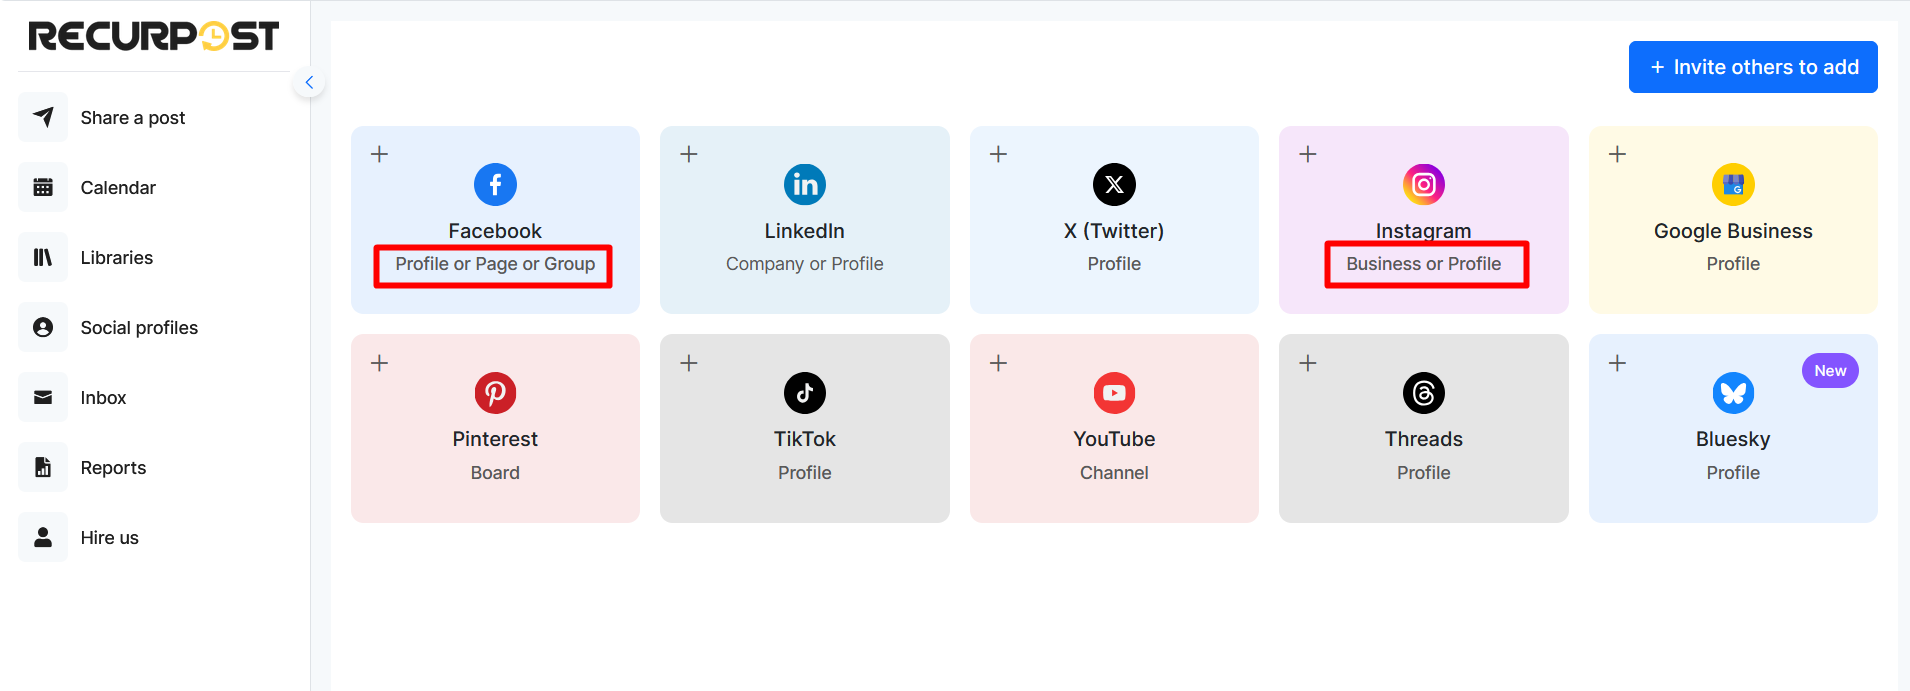
In order to add Facebook groups, Facebook Profiles, or Instagram Personal Profiles, you will have to click on Facebook and Instagram logo as shown above.
You may be asked to log in to your Instagram account if you are not already logged in through your browser. Don’t worry, RecurPost never sees or stores your account password.
After you enter the credentials, RecurPost will ask you to give certain permissions. Note that these permissions are necessary for scheduling and posting on your accounts from RecurPost. If you refuse to give our app permissions, you will not be able to post from RecurPost as a result.
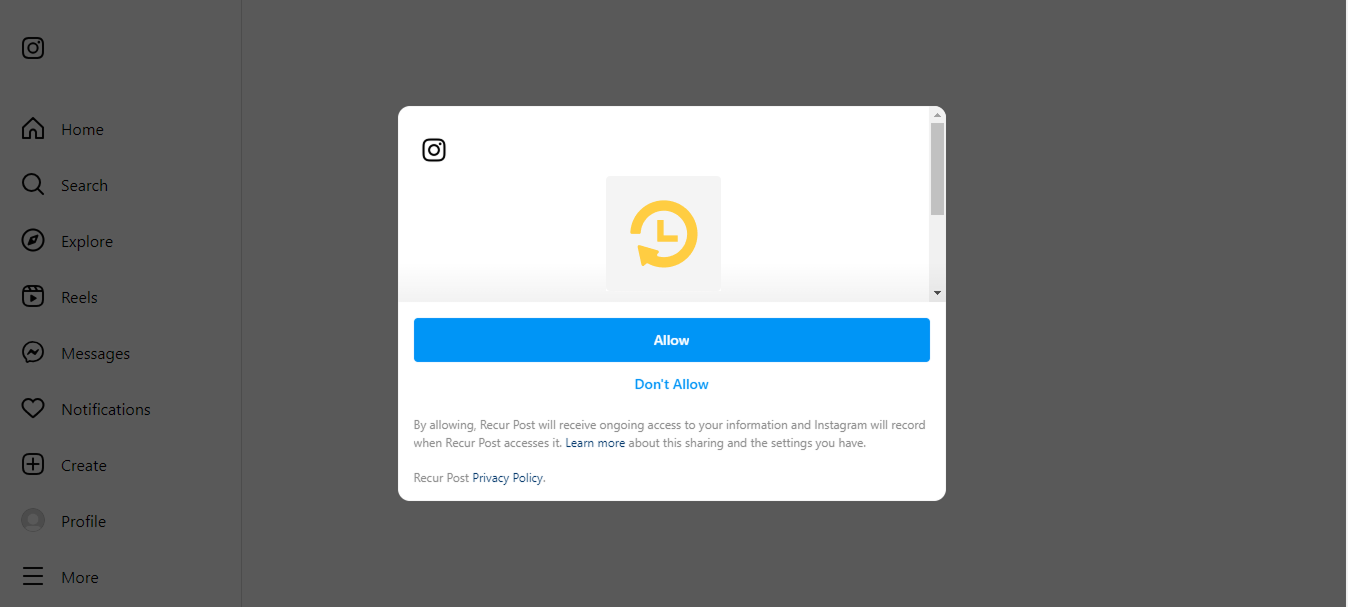
Click on ‘Allow’ and you’ll be redirected back to RecurPost. You will see that your Instagram Personal profile is now added to the list of social profiles on the left under the ‘Social profiles’ section.
– When using RecurPost Mobile app
The RecurPost app is available for download on both ‘Google Play Store‘ and ‘Apple App Store‘. After downloading the app, you need to log into your RecurPost account using the mobile app and make sure to allow the notifications setting (if asked) when you enter the RecurPost mobile app for the first time.
In case, you deny the notification permission then you can simply go to the ‘Settings‘ on your phone and turn it on under the RecurPost app.
To connect Instagram Personal profile using mobile app, go to ‘Social profiles’ page from the Calendar page and add select ‘Personal Profile’.

Repeat the same process for connecting your Facebook profile. Now let’s see the process of creating posts in detail.
Step 2: Create a One-off Post
You can create either Recurring Post or One-off Post. Let’s create a one-off post here to understand the process of posting via push notification on Facebook and Instagram Personal profiles.
First, log into your RecurPost account from your computer browser and click on the ‘Share a post’ and then go to ‘Create a Post Manually’ on the Calendar page. This is where you will be creating your ‘One-off post’.
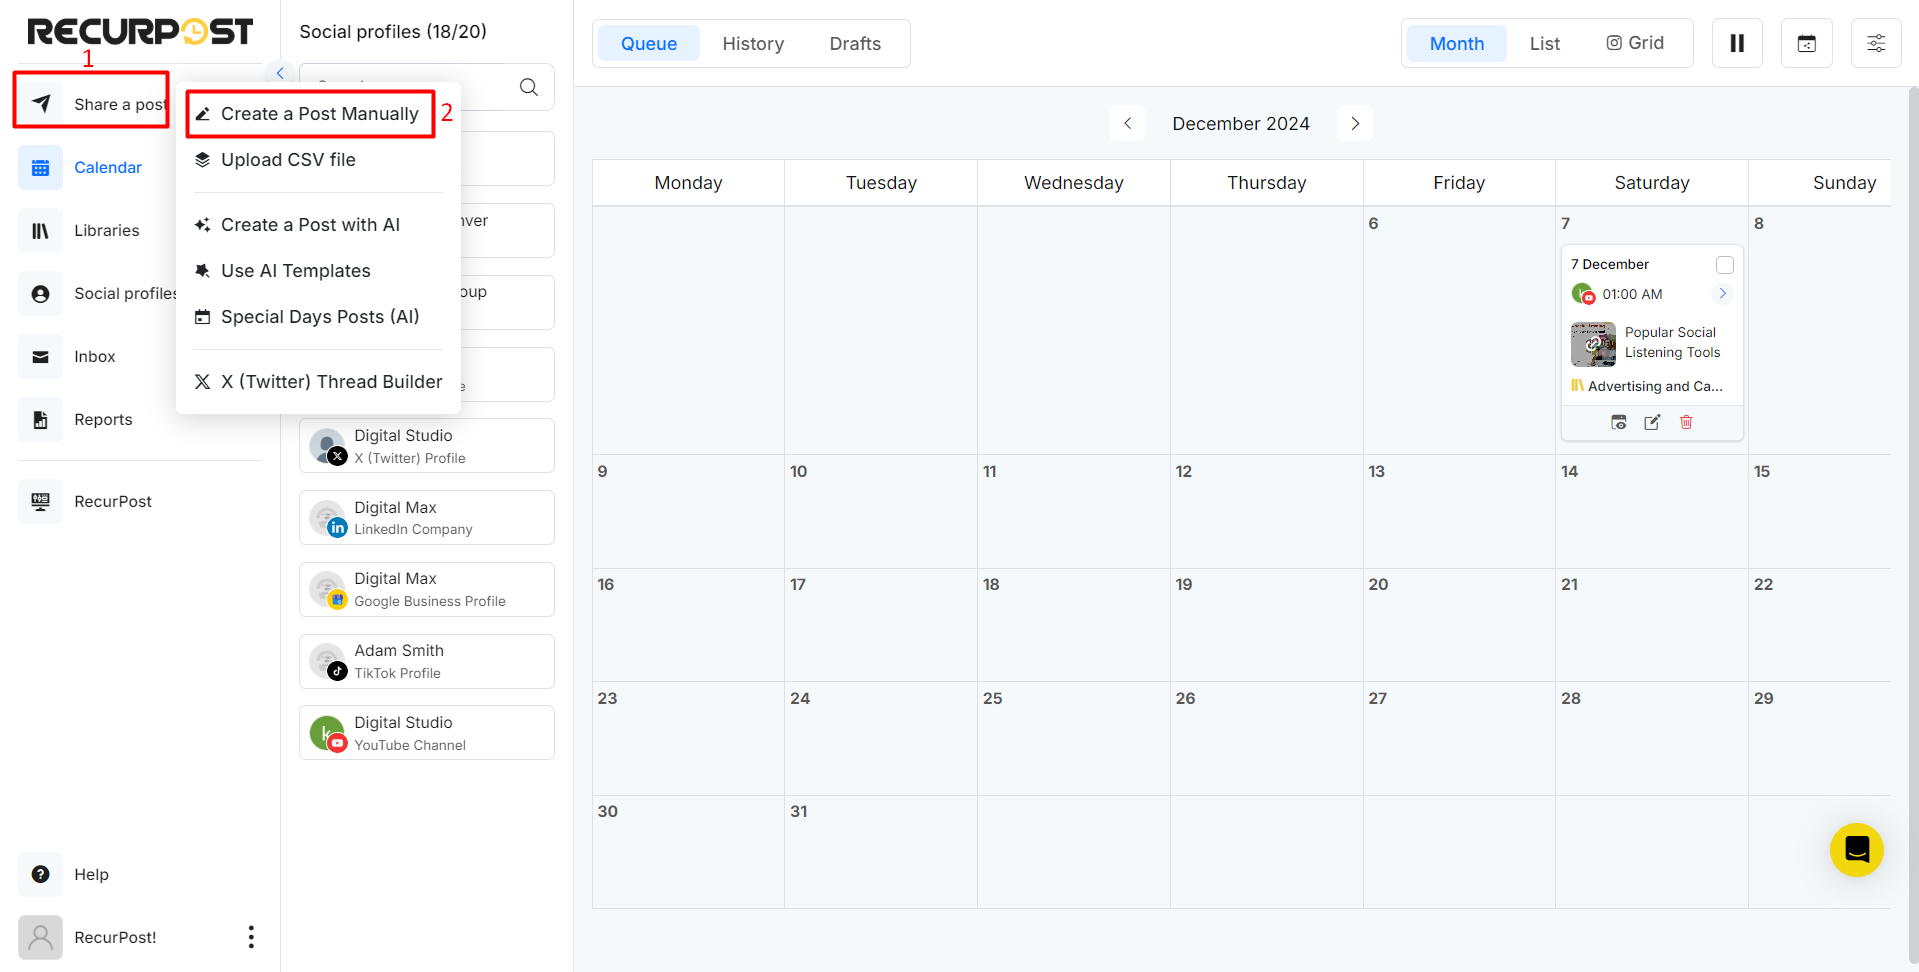
From there, you shall be able to add all the relevant details of the post including the message i.e. Description/Caption, URL to websites, Images, Video, Generate content from AI and Hashtags to the post.
Select Facebook Profile and Instagram Personal Profile from the left side.
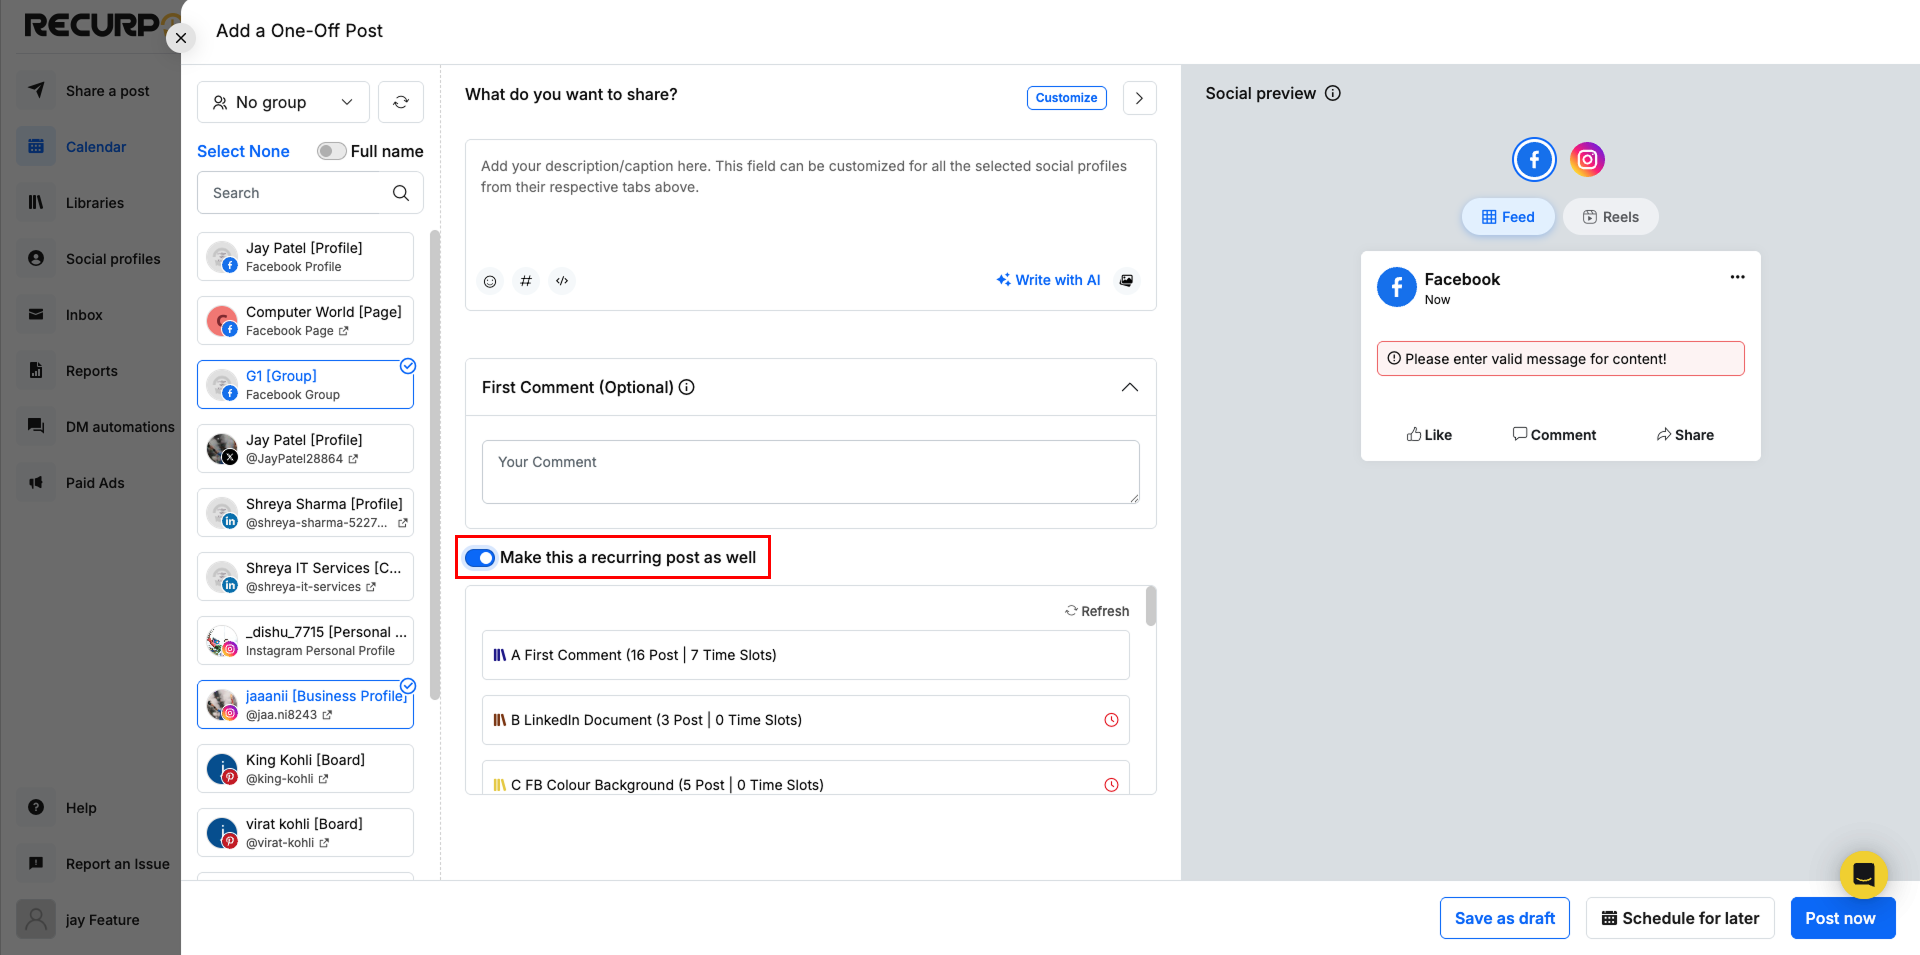
Now, in case you also want to add this post to your library as well for later use or editing, you can do so by enabling the ‘Make this a recurring post as well’ box. This means that your One-off post will also be saved to your selected libraries which you can later edit or schedule again as per your preference.
Once you’re done with that, it’s now time to schedule your post. You can do so by clicking on ‘Schedule for later’ button and selecting your preferred date and time of posting shown below:

Click on the ‘Schedule’ button after entering all the details. If you haven’t set up a schedule and want to share your post instantly, then simply click on ‘Post Now’.
Now, Let’s see how to post on Instagram & Facebook Profile
You will get a push notification on your mobile immediately if you use ‘Post Now’ option. However, if you have scheduled the post for a later time, you will get a push notification through RecurPost’s mobile app. Tapping on it will take you to the Facebook app (for Facebook Profile post) and Instagram mobile app (for Instagram Profile post) on your mobile and your data will be copied in your phone’s memory. You can make your post live from this screen.
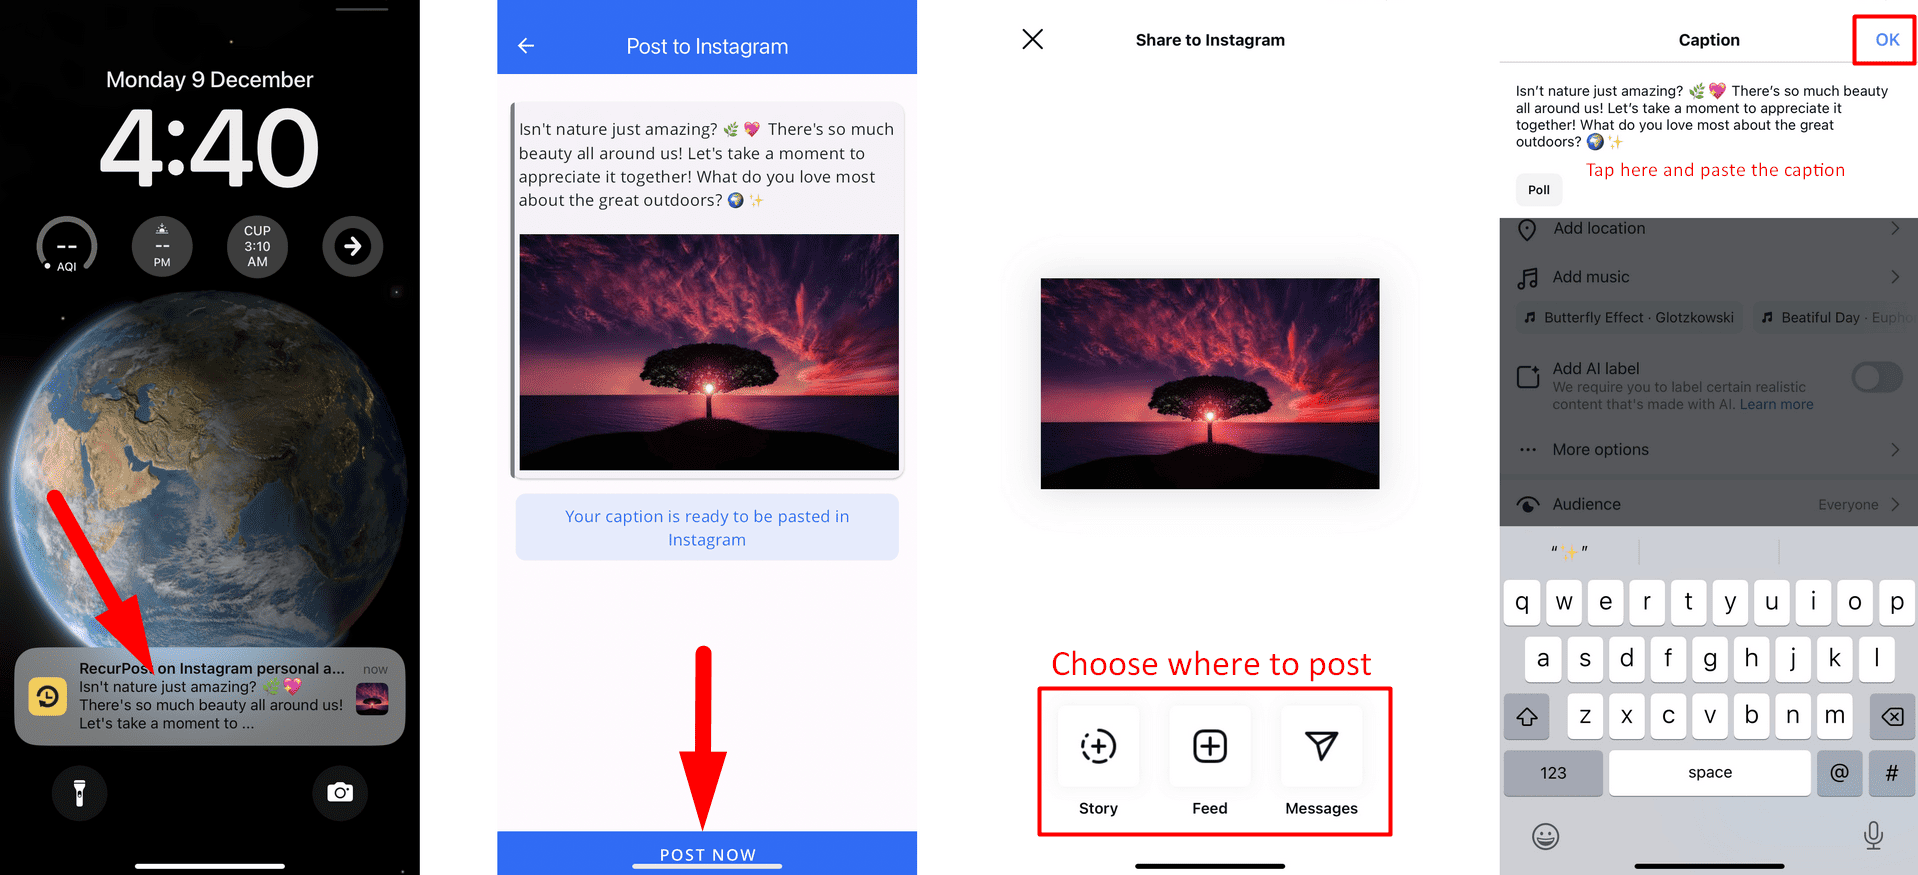

In the posting process, you can also select where you wish to share the post – Feed, Story, or Reel and then complete the posting process.
Step 3: Create a Recurring Post
To add ‘Recurring Posts‘, simply go to Library page, go inside the library and add the post as showb below. However, you can also add some ‘Recuring Posts’ to library while creating a One-off post by enabling ‘Make this a recurring post as well‘ option.
Adding a recurring post to a library is pretty much the same as creating a one-off post. When you create an account, a few libraries will be set up by default. You can use them, or you can create new libraries by clicking on the ‘+ ADD LIBRARY’ button.
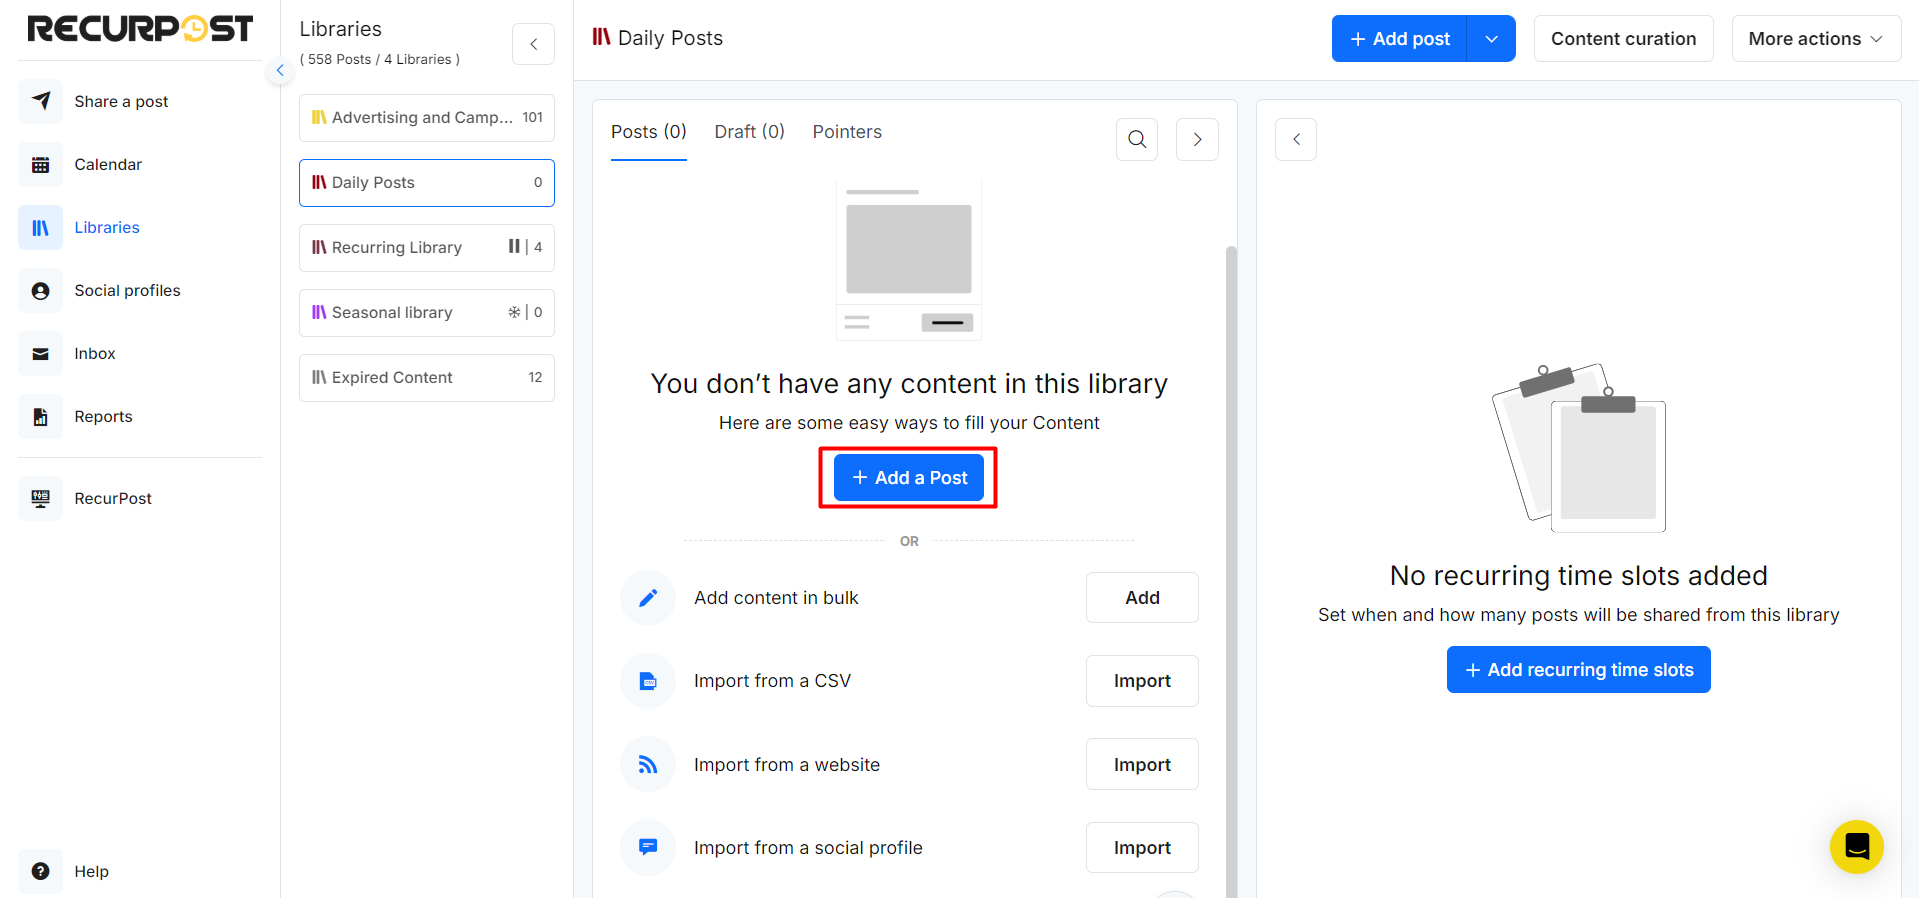
Here, let’s see how to add a post from the Library page. Go to library in which you want to add post and you will see multiple options to add posts inside a library.
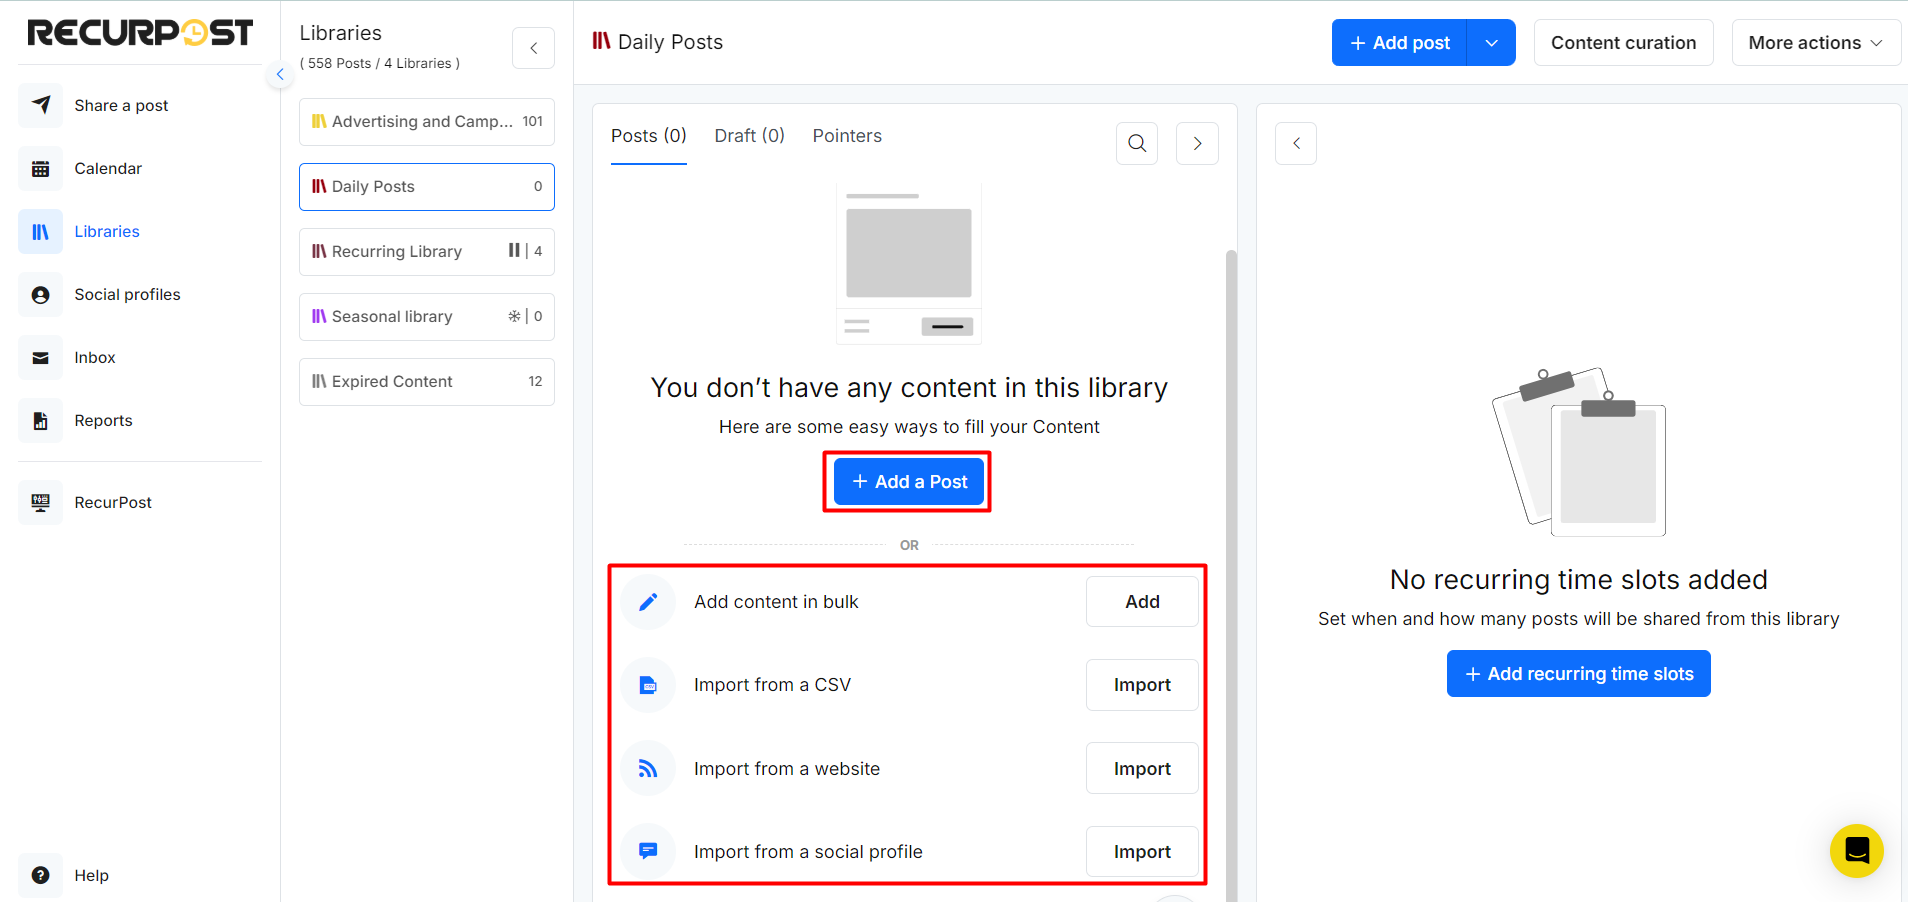
Add a Single post:
To add a single post, click on the ‘+ Add a Post’ button and the following window shall appear.
Add all the relevant content details such as description, images, videos, or links and use all the customization offered within the post.
You shall also have the option to keep a post remain as a draft until a certain date by enabling the ‘Keep as a draft until’ toggle button. These posts basically shall remain on stand-by until their ‘release date’ after which they shall be added to the library.
After the release date, they shall start going out to the selected social profiles according to the set schedules in a recurring manner. You can also choose to make these posts stop going out to your social profiles after a certain date by enabling the ‘Do not recur after’ toggle button.
Now, if you want a particular post to go out before any other post from the library, you can enable the ‘Make it the next post to go out’ toggle button. Enabling this button will set this post as a priority.
Once you have added all the content and all set click on the ‘Add to Library’.
In addition to that, RecurPost supports uploading content in bulk in various ways. Inside a library, you shall also see below options:
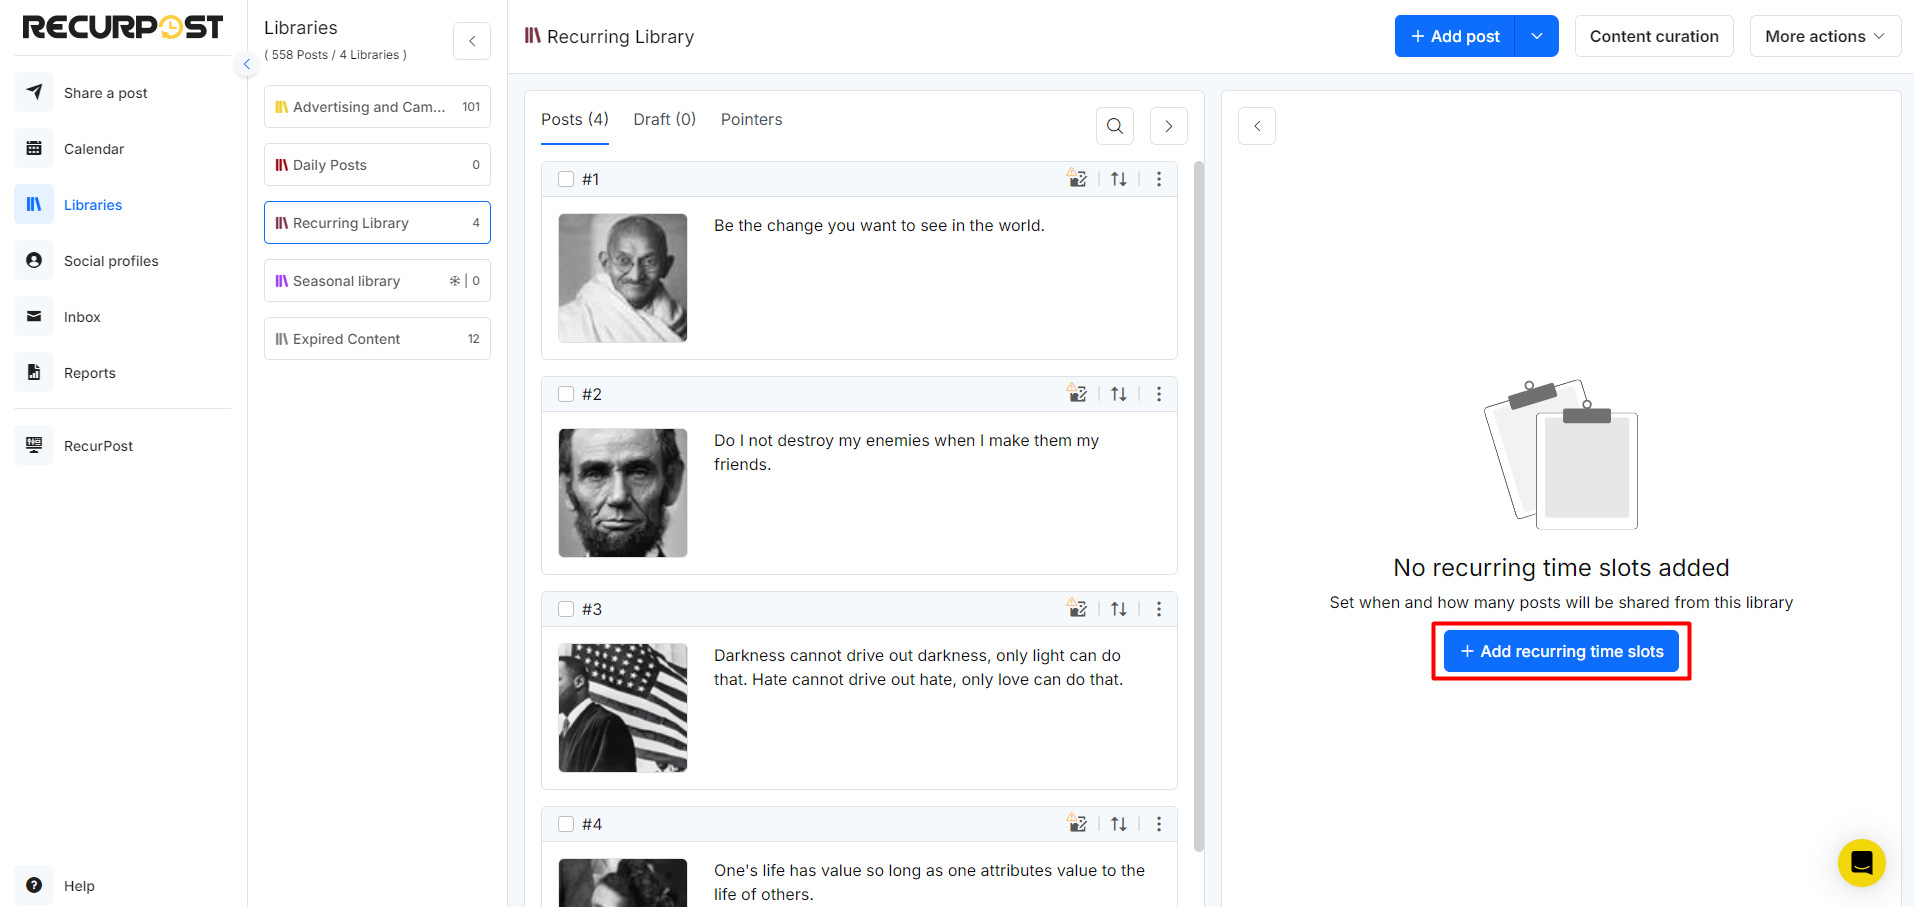
Once all of the posts have been added to the library, you need to add schedules to share posts from this library in a recurring manner. To add a recurring schedule, simply click on the ‘+ Add recurring time slots’ button located in the library.
Here, you need to select social profiles and set the frequency in which you want to share the posts. For instance, if you set the frequency to Monday at 5:00 PM for one social profile, your posts shall go out sequentially in succession every Monday at 5:00 PM on the selected social profiles in a continuous loop until you pause, delete the library or delete the time slots from library.
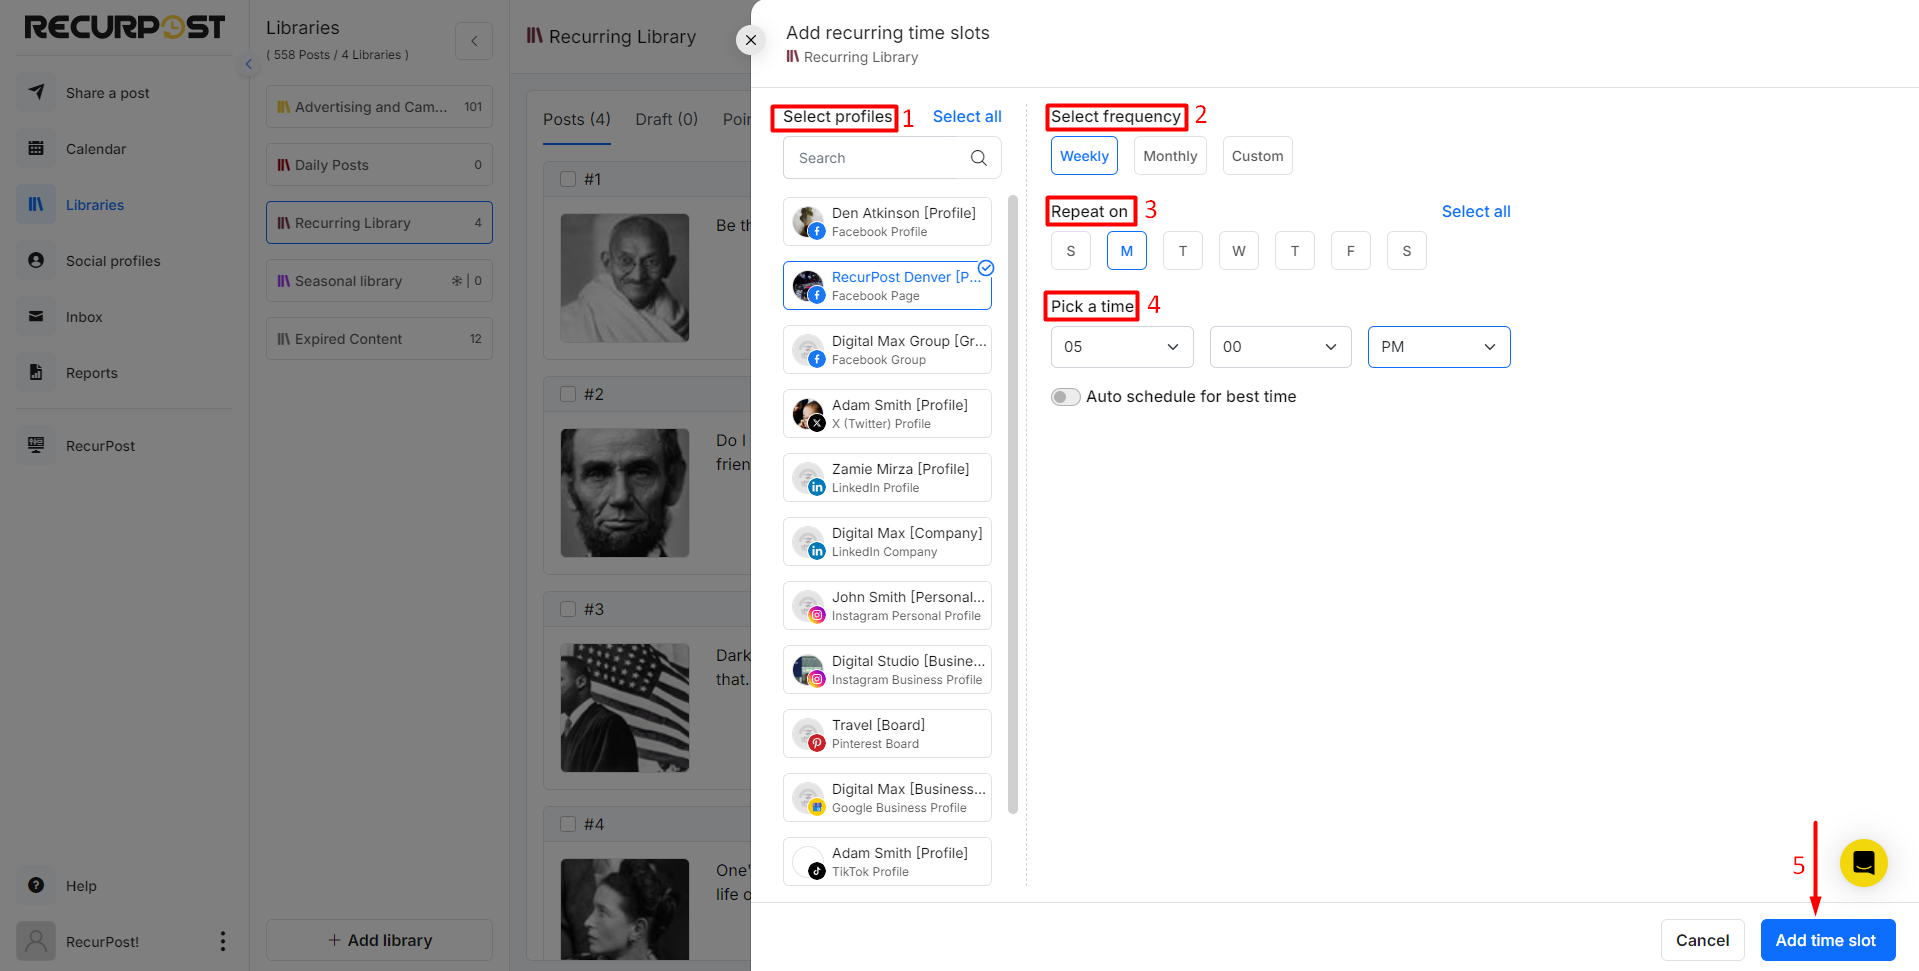
After setting the time and selecting the account on which you want to share posts, click on ‘Add time slot’.
Now, when it’s time for a post to go live, you will receive a push notification on your mobile. The data will be copied and you will be taken to your Instagram/Facebook profile where you can complete the uploading process.
That’s it for creating posts for Instagram and Facebook’s Personal profiles using RecurPost! If you have any queries, please contact us at support@recurpost.com.