
What are Social Profile Groups in RecurPost?
Social Profile Groups let you bundle several social accounts together and select them in one click instead of choosing profiles one by one.
This feature is especially helpful for
- Agencies managing many brands
- Businesses posting to the same set of profiles again and again
- Teams running campaigns across similar channels
Once a group is created, it can be picked anywhere profile groups are supported.
Example Use Cases
- Agencies with multiple clients: Create one group per client (e.g., “Client A: All Profiles”) and pick that group whenever scheduling content for that client.
- Brands with regional pages: Group all regional or country pages into “Global Campaigns” and select that group for brand-wide announcements.
- Teams using Plan Weekly Posts with AI: Choose a Social Profile Group inside Plan Weekly Posts with AI and generate a full week of content for that group in one flow, with full profile names visible for extra clarity.
NOTE: Currently, this feature is only available for the RecurPost Web version
Where can Social Profile Groups be used?
Social Profile Groups currently work in these places:
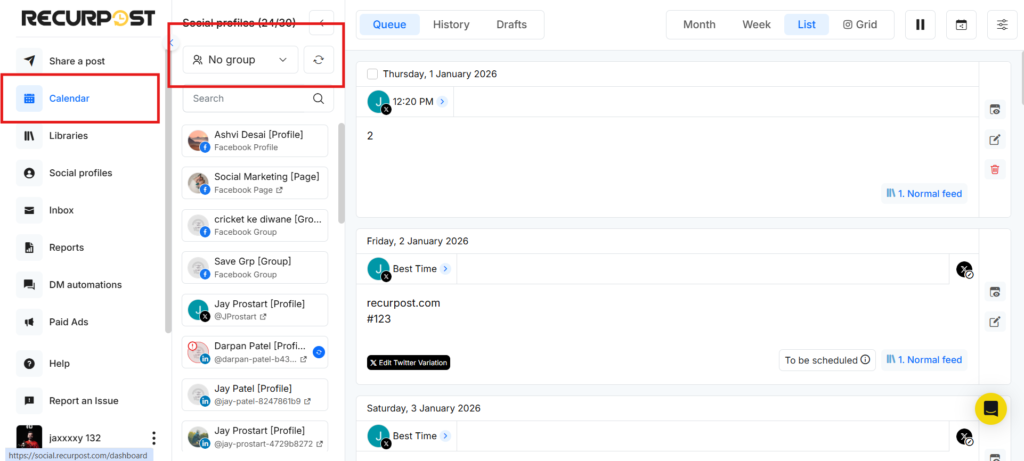
1. Dashboard (Calendar view):
2. Share a Post / One-off posts
3. Plan Weekly Posts with AI
4. Upload CSV File

Anywhere you can choose multiple profiles in these sections, you can now select a saved group instead.
How to Create a Social Profile Group
Go to a screen where profile groups are supported, such as:
Method 1: Social Profiles Tab
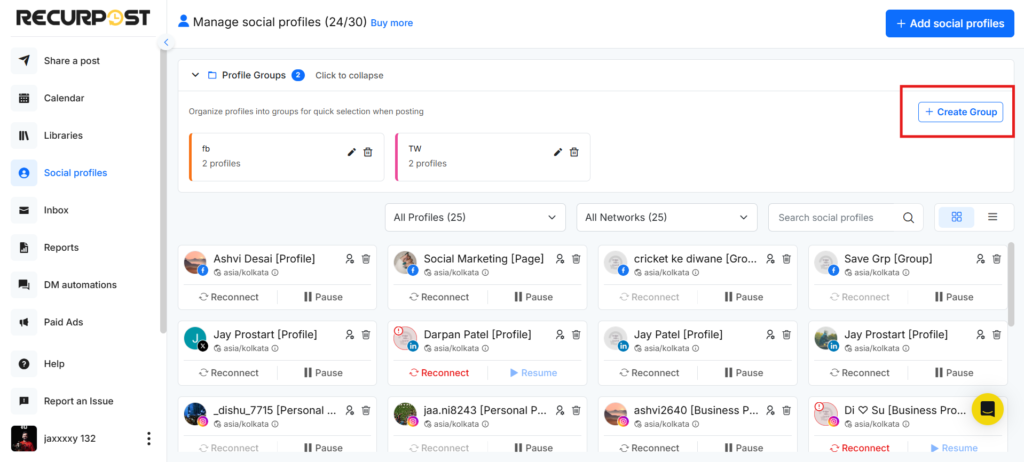
- Go to Social Profiles from the left-hand menu
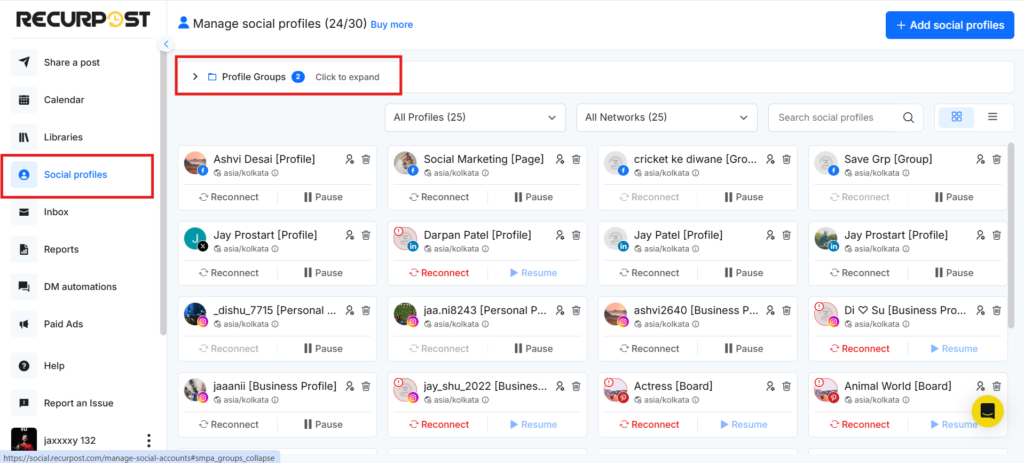
- Click the Profile Groups dropdown at the top. Click Create Group, this will open the Create Group pop-up.
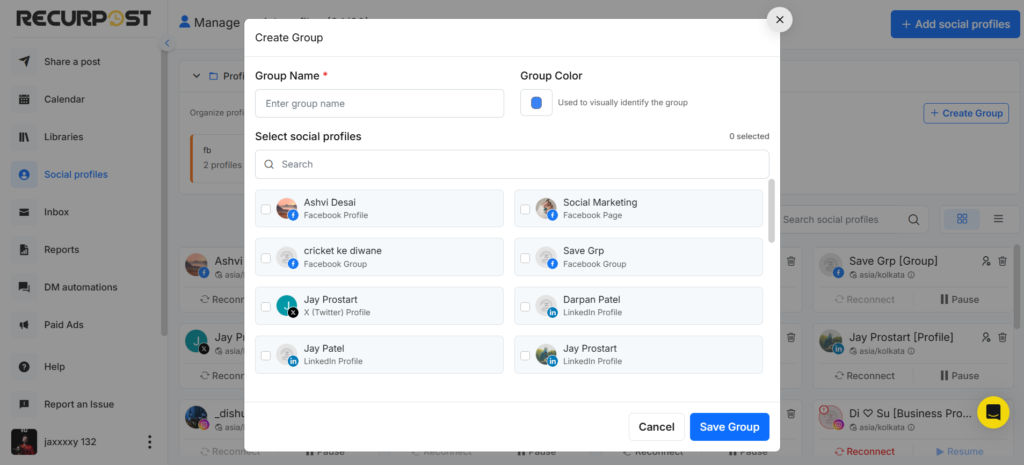
- In the pop-up, enter a Group Name, pick a Group Color (optional), and select the Social Profiles you want in this group. Click Save Group. Your Social Profile Group is now created and ready to use across the app.
Method 2: From the Calendar Tab
- Open the Calendar tab on the Dashboard.
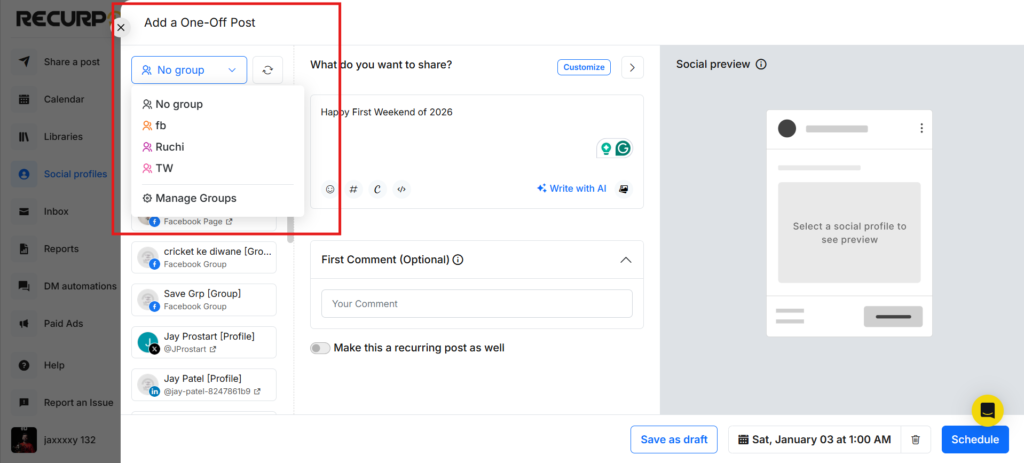
- In the profile selection area, open the No Group dropdown.
- Either select an existing group or click Manage Groups to open the Social Profiles → Profile Groups page in a new tab.
- On the Profile Groups page, create a new group using the steps from Method 1.
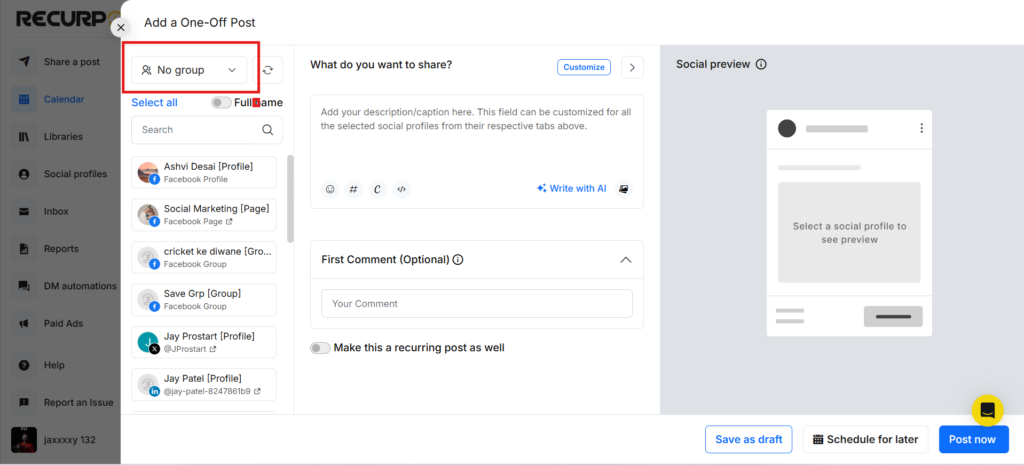
Method 3: From “Share a Post → Create a Post Manually”
- Click Share a Post in the left sidebar.
- Select Create a Post Manually.
- In the social account selection area, open the No Group dropdown.
- Either choose an existing group or click Manage Groups to open Social Profiles → Profile Groups, then create a group as described in Method 1.
Method 4: From “Share a Post → Upload via CSV”
- Click Share a Post in the left sidebar.
- Choose Upload via CSV (for one-off post bulk upload).
- In the social account selection area, open the No Group dropdown.
- Either select an existing group or click Manage Groups and create a new group from the Profile Groups page using Method 1.
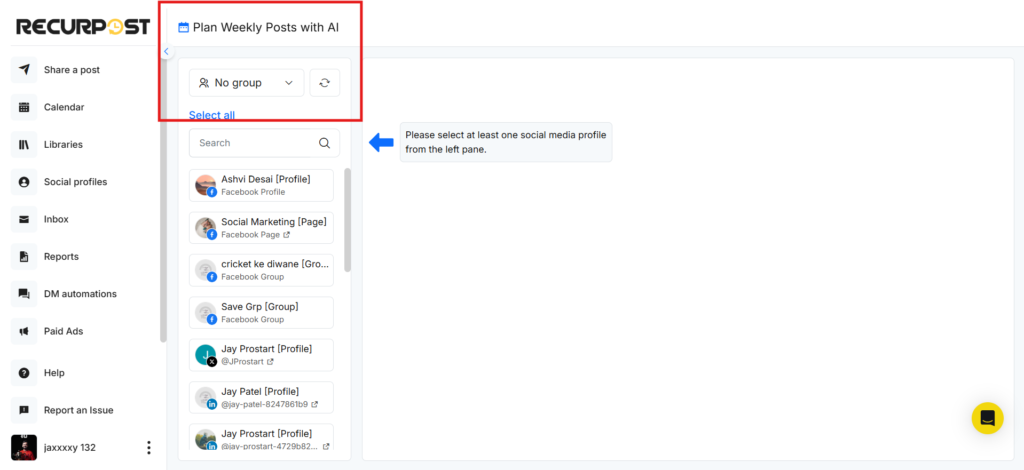
Method 5: From “Plan Weekly Posts with AI”
- Open Plan Weekly Posts with AI from the posting options.
- In the social account selection area, open the No Group dropdown.
- Either select an existing group or click Manage Groups to navigate to Social Profiles → Profile Groups and create a new group using Method 1.
How to Use a Social Profile Group While Posting
Wherever profile groups are supported:
- Start your post as usual (One-off post, Calendar post, Plan Weekly Posts with AI, or One-off post CSV upload).
- Tap on the No Group dropdown list.
- Choose your saved Social Profile Group instead of ticking each profile manually.
NOTE: All accounts inside that group will be selected instantly. You can still add or remove individual profiles as needed.
How to Edit or Delete a Social Profile Group
- Go to Social Profiles → Profile Groups → Expand the Profile Groups dropdown
- Open the group list and look for the edit / manage option near the group name.
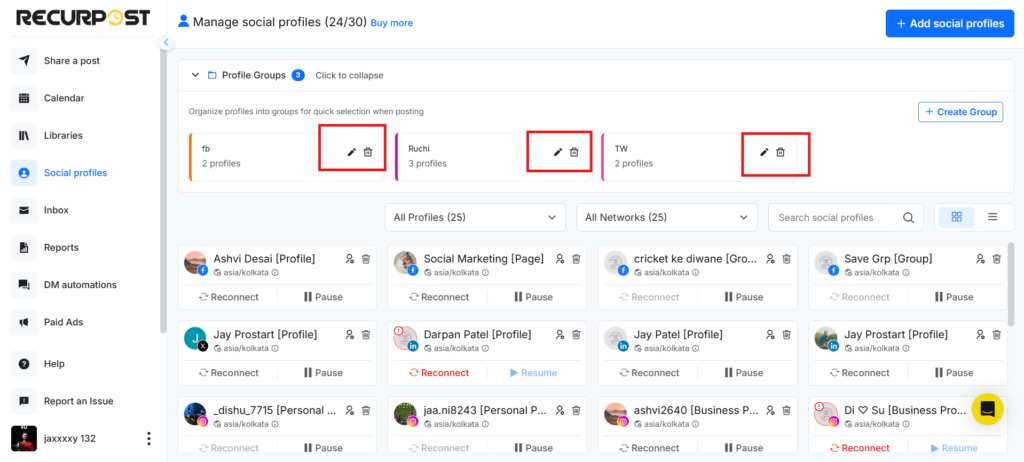
- From there, you can:
- Rename the group
- Add or remove social profiles(Within the Edit option)
- Delete the group if you no longer need it
Changes apply the next time the group is used for posting.
What is the “Show Full Name” Toggle?
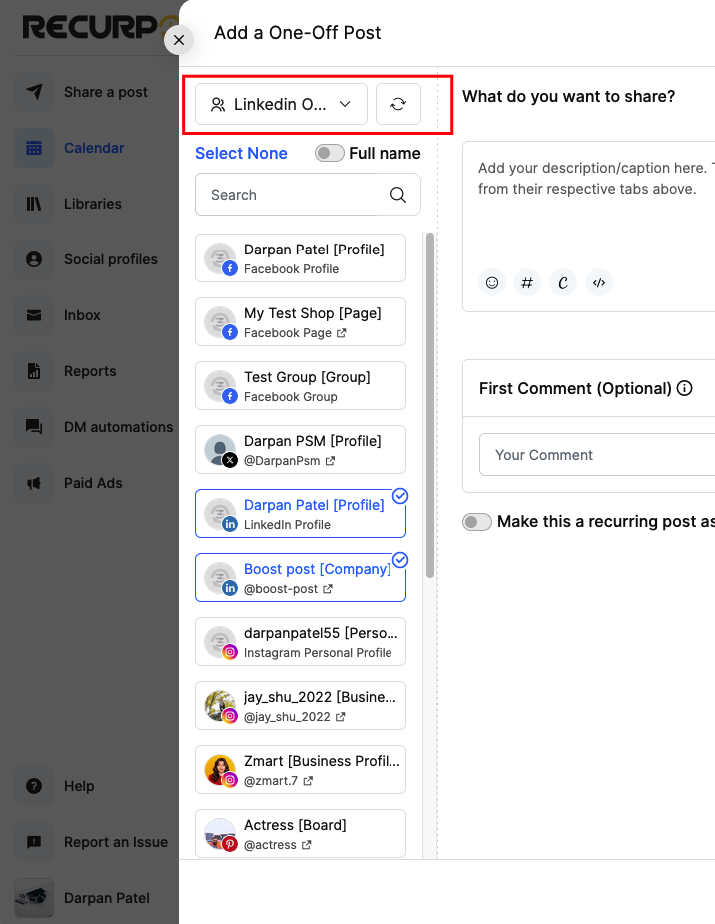
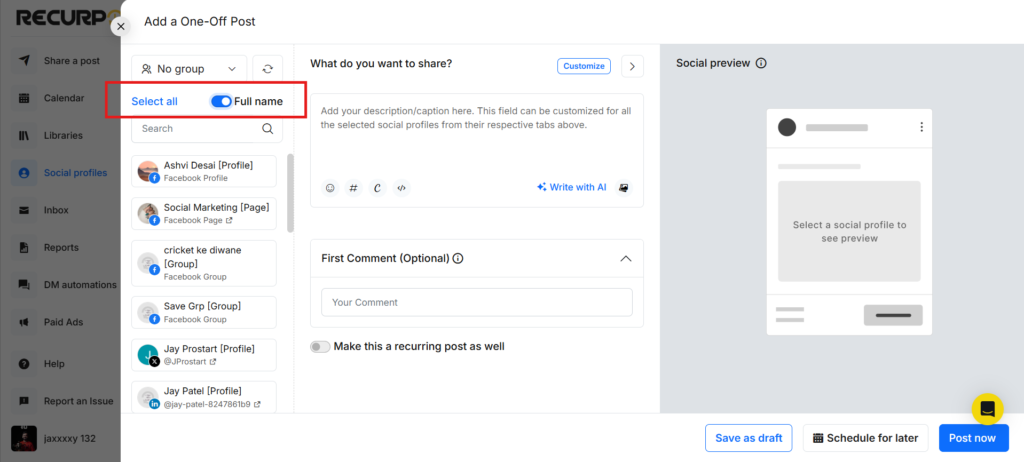
When creating a One-off post, you’ll now see a “Full name” switch in the social account selection area.
Some brands have similar names across pages and profiles (for example, “RecurPost US” vs “RecurPost Global”). The full-name toggle makes selection clearer in these cases.
- Full name OFF: You see shorter, compact names.
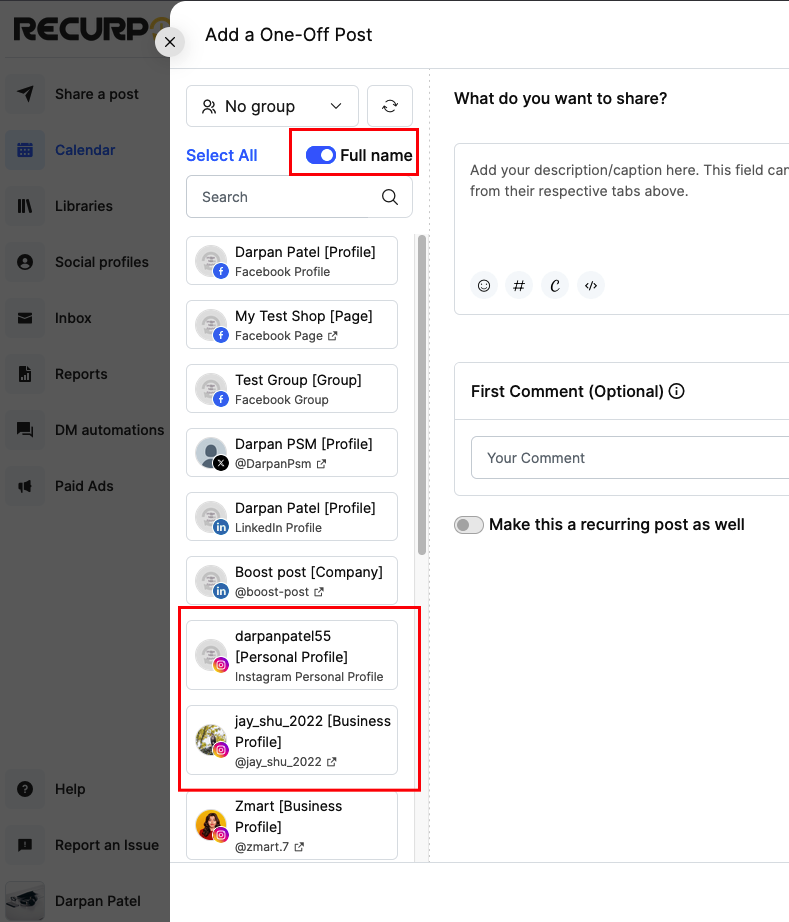
- Full name ON: You see the complete account name as it appears on the platform.
This brings extra clarity before hitting Schedule or Post Now.
How to Use the Full Name Toggle
- Go to Share a Post → Create a Post Manually.
- Under the No Group dropdown, you will see the Full name switch.
- Turn it ON to expand each profile name to its full version.
- Select the correct profiles or Social Profile Group.
NOTE: This feature is only available for the RecurPost Web version
This is useful if you manage:
- Test accounts and live accounts side by side
- Multiple regional pages
- Multiple pages for the same brand
Frequently Asked Questions
1. Do Social Profile Groups change my plan limits?
No. Groups only bundle existing profiles for quicker selection. Your plan limits and connected account counts stay the same.
2. Are groups shared across all workspaces?
Groups respect your existing workspace context. You will only see profiles (and groups) that belong to the workspace you are currently using.
3. Does the Full Name toggle change anything on the social platforms?
No. It only changes how names are displayed inside RecurPost during selection. Posting behavior remains the same.