
Sometimes a post is almost ready, but the image needs some small changes, like cropping for Instagram, straightening a photo, adding a label, or placing a logo. RecurPost’s Image Editor does these edits inside the post composer, so the post can be finished without using another design tool.
What can be done in the Image Editor
The Image Editor supports common edits used for social media posts:
- Resize and crop (with platform presets)
- Flip and rotate
- Draw, shapes, icons, and text
- Masks and filters
- Add an image/logo/watermark on top of an existing image (with opacity control)
- Auto-stamp your logo on every image post using the watermark setting in your social account or workspace settings
Accessing the Image Editor
The Image Editor opens from any post that has an image attached.
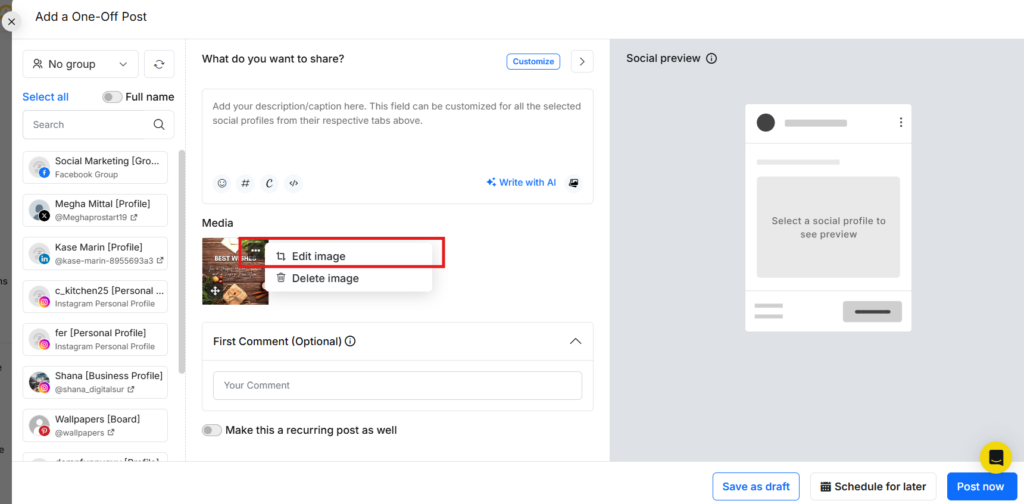
- Open Create Post, or open an existing post to edit it.
- Click Upload image and select the file.
- Hover on the uploaded image and select Edit Image (from the image options/menu).
- The Image Editor opens in a pop-up window.
Tip: After editing inside the pop-up, click Save in the editor, then save the post in the composer as well.
Image Editor layout (what is on the screen)
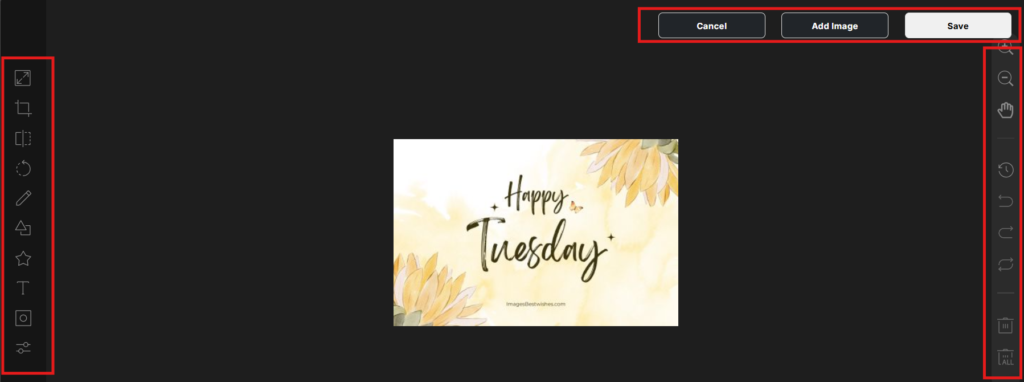
The editor is split into three areas:
- Top bar: Cancel, Add Image, Save
- Left panel: editing tools (Resize, Crop, Text, etc.)
- Right panel: quick actions and controls (zoom, undo/redo, reset, delete)
This layout makes it easy to edit, undo, and save without leaving the post screen.
Editing tools (left panel)
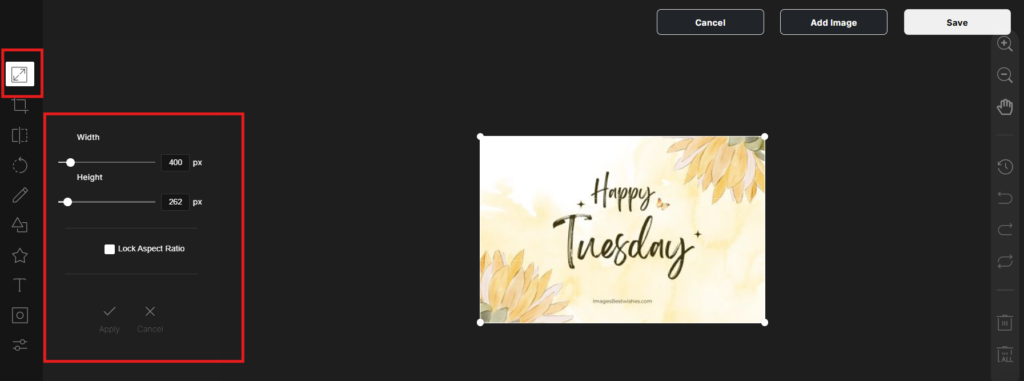
1. Resize
Resize changes the image width and height.
Use Resize when:
- The image needs a better fit inside the frame
- A post preview looks too zoomed in/out
Steps:
- Click Resize.
- Adjust the size values.
- Review the result.
- Click Save.
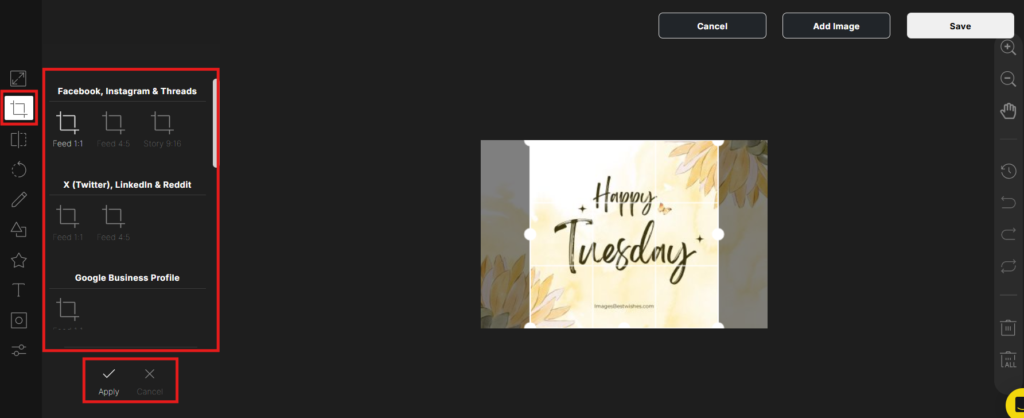
2. Crop (with social media presets)
Crop trims the image to a smaller frame. It also includes ready-made sizes for popular platforms.
Use Crop when:
- An image must match a platform layout (Instagram, Facebook, LinkedIn, Bluesky, and more)
- The main subject needs to sit in the center
Steps:
- Click Crop.
- Pick a preset (or use a custom crop).
- Drag the crop frame to place the subject.
- Apply the crop.
- Click Save.
Tip: If a needed size is not listed, use custom crop and set the frame manually.
3. Flip
Flip mirrors the image horizontally or vertically.
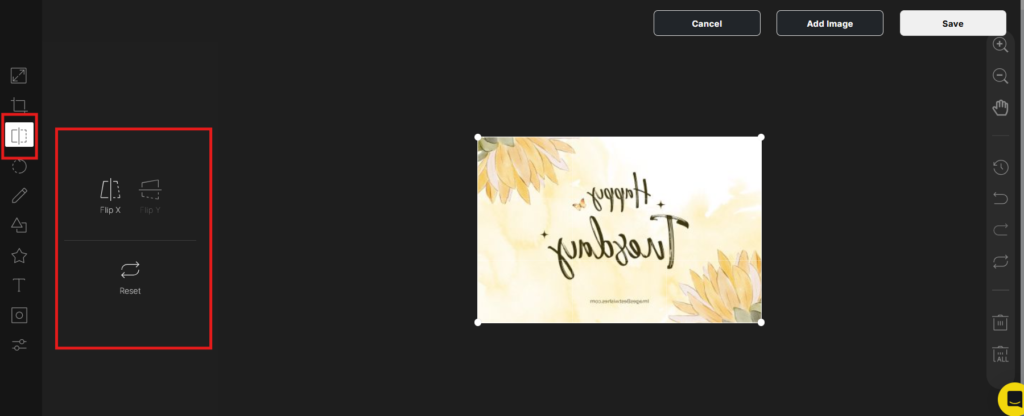
Use Flip when:
- The image composition looks better in the opposite direction
- A photo needs a quick left-right correction
Steps:
- Click Flip.
- Choose horizontal or vertical.
- Click Save.
4. Rotate
Rotate turns the image by fixed angles.
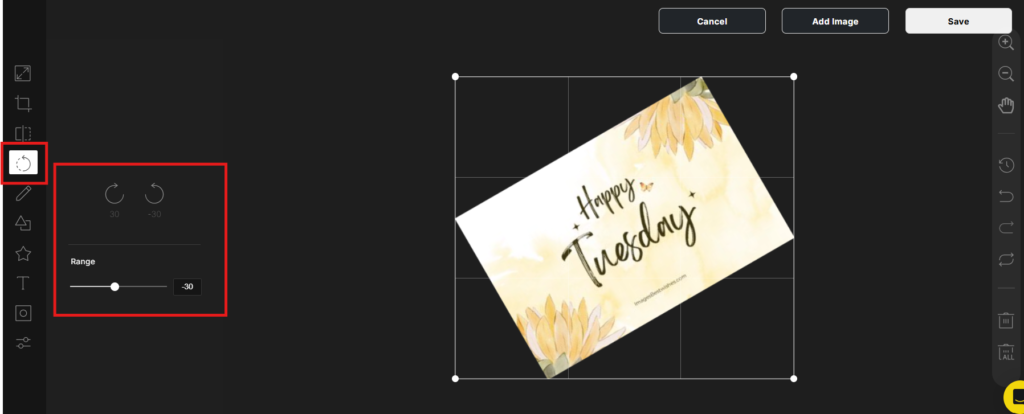
Use Rotate when:
- The photo is sideways
- The horizon line looks tilted
Steps:
- Click Rotate.
- Rotate to the needed angle.
- Click Save.
5. Draw
Draw adds freehand marks and lines.
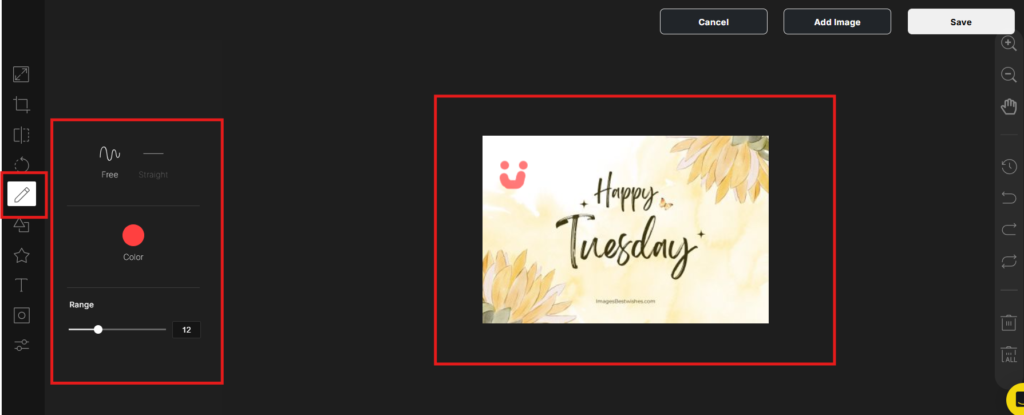
Use Draw for:
- Circling a product
- Underlining a headline
- Adding arrows or quick markings
Steps:
- Click Draw.
- Select brush type and color.
- Draw on the image.
- Click Save.
6. Shape
Shape places simple objects like rectangles, circles, and triangles.
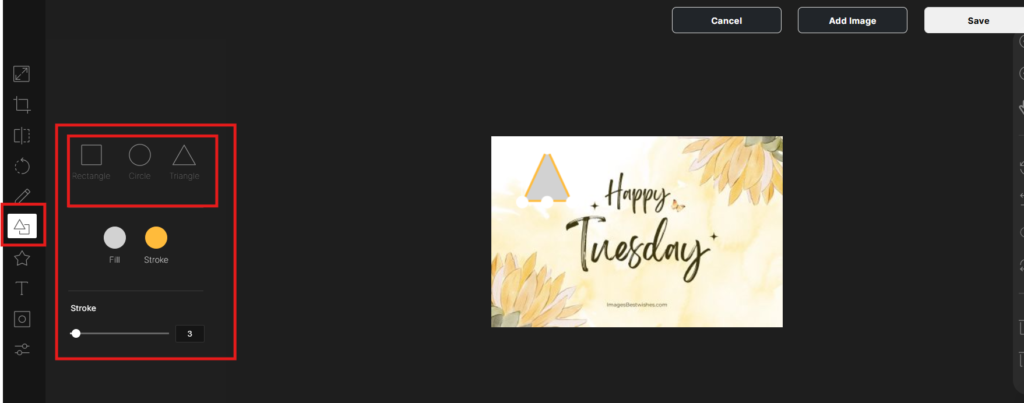
Use Shape for:
- Putting a box behind text for readability
- Adding a badge-style highlight (example: “New”, “Sale”, “Update”)
Steps:
- Click Shape.
- Pick the shape.
- Resize and position it.
- Click Save.
7. Icon
Icon adds built-in icon graphics (example: arrows, stars, speech bubbles).
Use Icon for:
- Quick callouts
- Pointers and arrows
- Simple visual cues
Steps:
- Click the icon.
- Choose an icon.
- Resize and place it.
- Click Save.
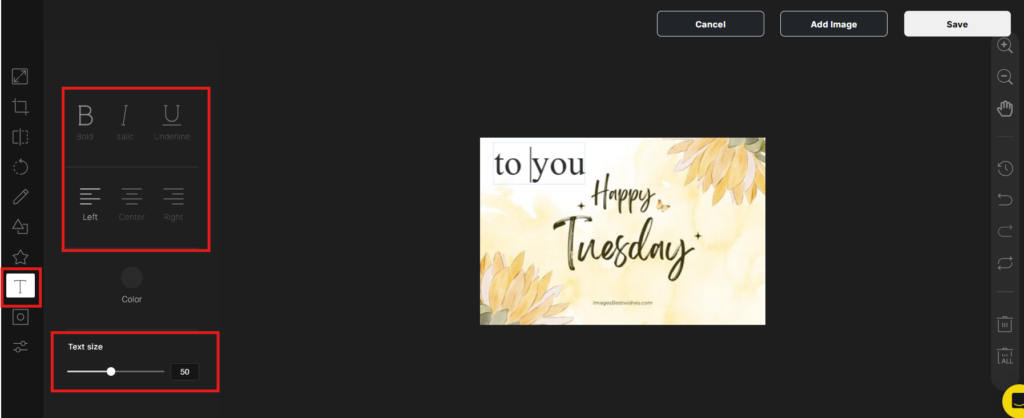
8. Text
Text places words on the image for labels or short messages.
Use Text for:
- Adding a title to a post image
- Adding a short label (example: “Tip”, “Step 1”, “Limited time”)
Steps:
- Click Text.
- Type the text.
- Set size and color.
- Place it on the image.
- Click Save.
Tip: Keep text short so it stays readable on mobile screens.
9. Mask
Mask applies frames and cutout styles.
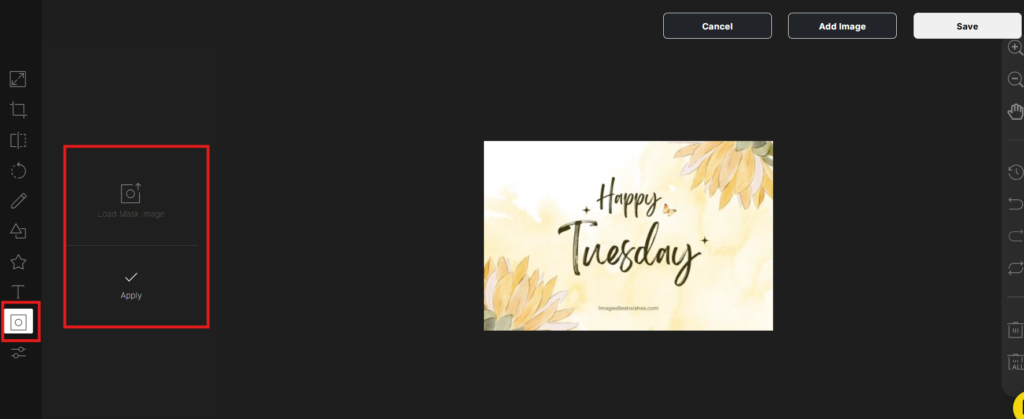
Use Mask when:
- A photo needs a framed look
- A creative shape crop is needed
Steps:
- Click Mask.
- Pick a mask/frame.
- Adjust placement.
- Click Save.
10. Filter
Filter changes the overall look using preset styles and simple adjustments.
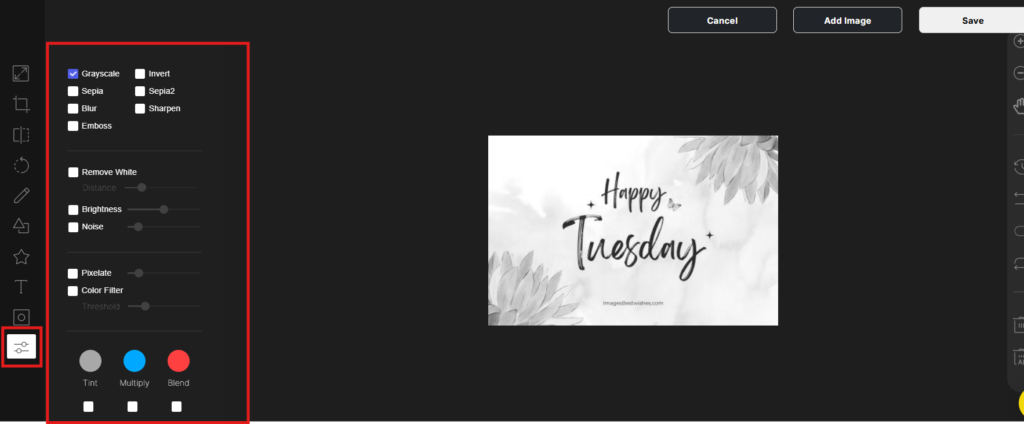
Use Filter when:
- Brightness/contrast needs a quick correction
- The image needs a consistent look across a series
Steps:
- Click Filter.
- Select a style.
- Adjust as needed.
- Click Save.
Add an image / Logo / Watermark on top of an image
A second image (logo/watermark) can now be placed on top of the main image inside the editor. Opacity control is included, so the overlay can be faint or bold.
When this is useful
- brand logo in a corner
- watermark on product photos
- campaign badge (example: “Webinar”, “Offer”, “New release”)
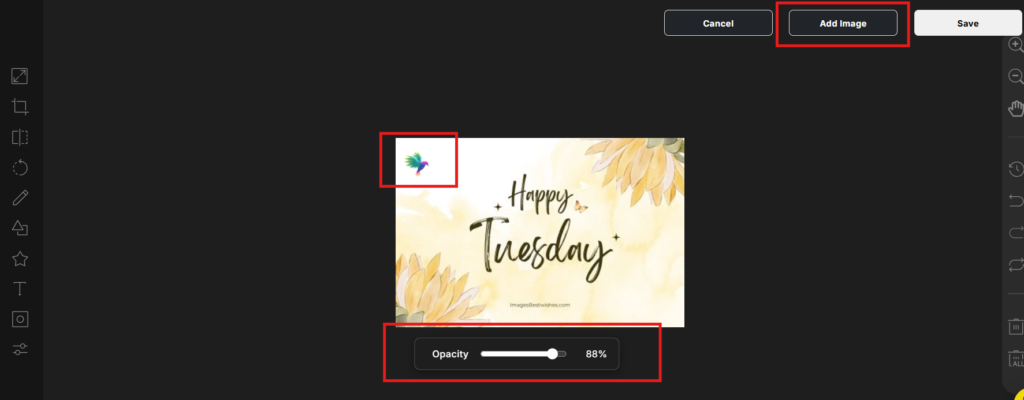
How to add an image/logo/watermark
- Open the image in the Image Editor.
- Click Add Image (top-right in the editor).
- Upload the logo/watermark file.
- Drag it into position and resize it.
- Select the added logo/watermark and use Opacity to change transparency.
- Click Save.
Tip: A transparent PNG works best for clean edges.
Auto-Watermark for Social Accounts and Workspaces
The Image Editor lets you place a logo on one image at a time. But what if you want your logo on every image post, automatically? RecurPost’s auto-watermark does exactly that.
You set it up once in your account settings. RecurPost then stamps your logo on every image before it goes out. No extra steps needed per post.
There are two ways to set it up: at the social account level or at the workspace level.
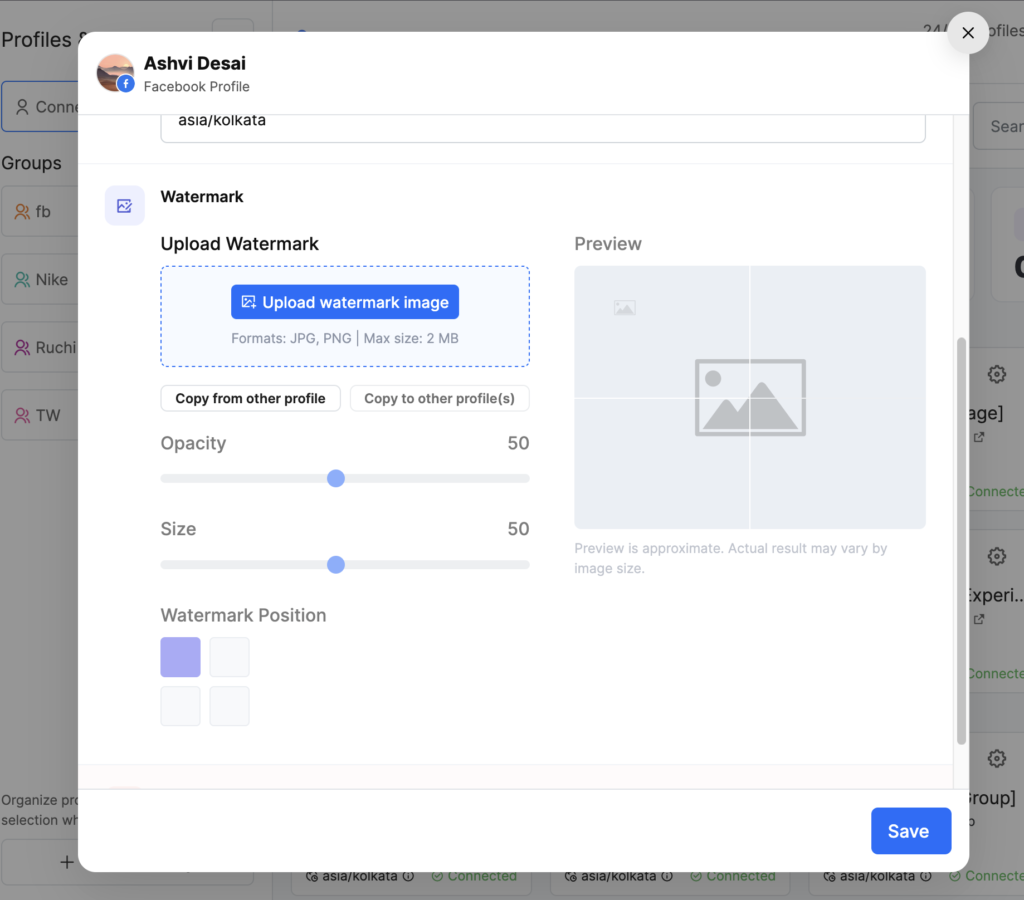
Set up a watermark on a social account
- Go to Social Profiles
- Open the settings for the account
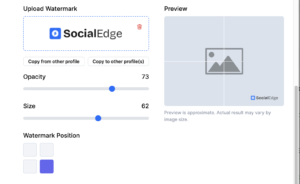
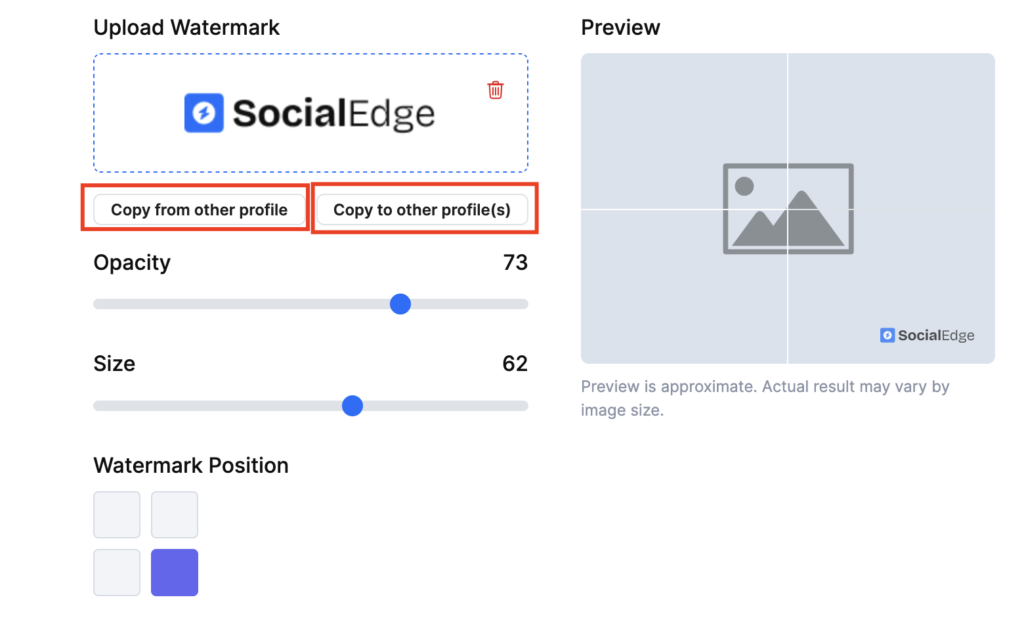
- Scroll down to the Watermark section
- Click Upload watermark image (JPG or PNG, max 2 MB)
- Set Opacity, Size and Position
- Click Save

Tip: A PNG with a transparent background gives the cleanest result on any image.
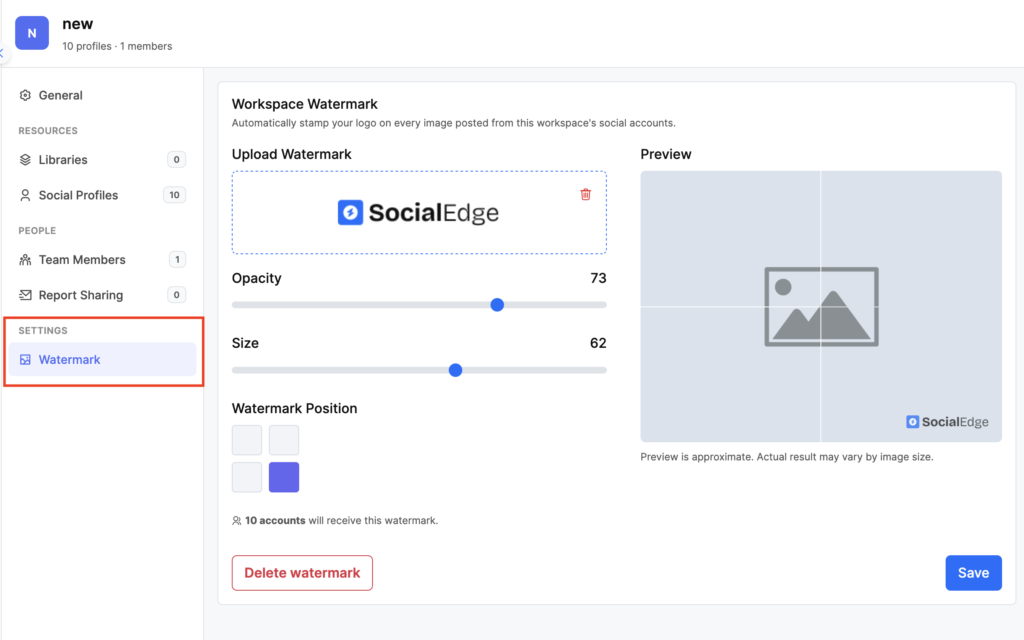
Set up a workspace watermark
A workspace watermark applies to all accounts in that workspace at once. Set it up once every account in the workspace gets it automatically.
- Open Workspace Settings
- Click Watermark in the left sidebar
- Upload your watermark image
- Set Opacity, Size and Position
- Click Save
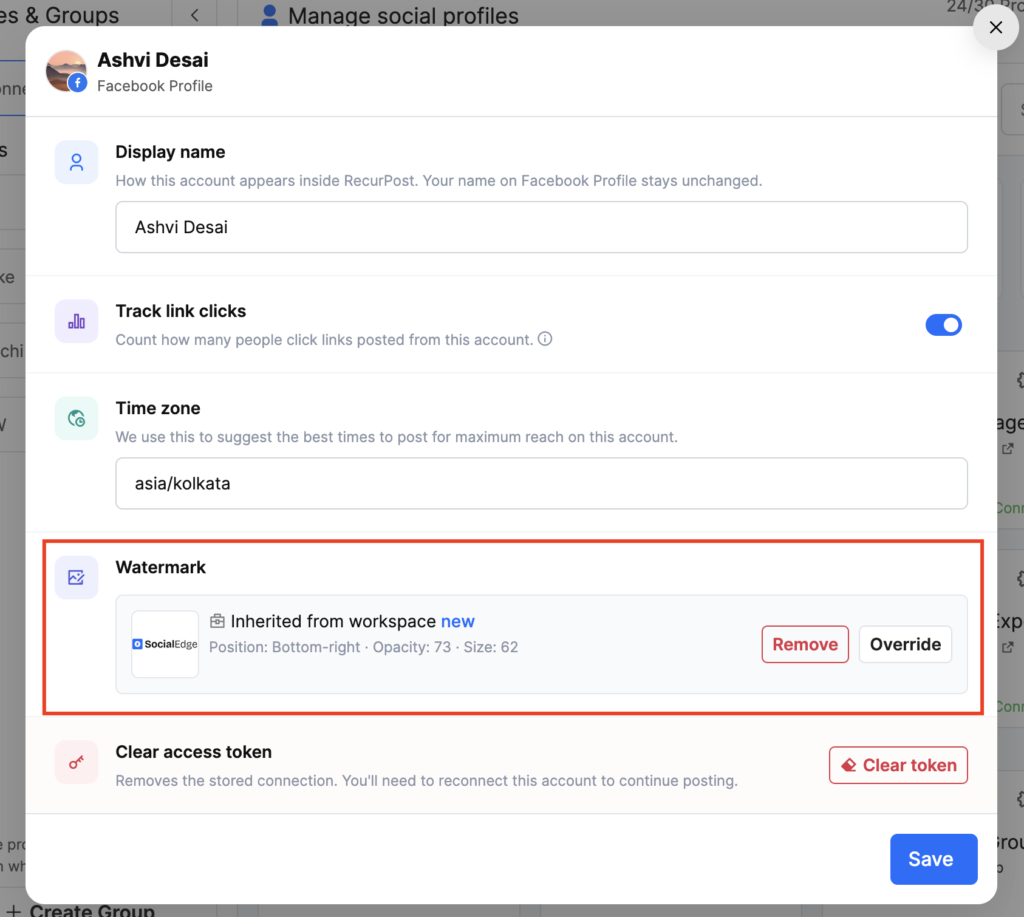
Override or remove an inherited watermark
Each account shows whether its watermark is “Inherited from workspace”. You have two options from there:
- Override: set a different watermark for just that one account
- Remove: turn off the watermark for that account only
The workspace settings stay unchanged for all other accounts.
Copy watermark settings across profiles
You don’t need to repeat the setup on every account manually.
- Copy from other profile: pulls watermark settings from another account into this one
- Copy to other profile(s): pushes this account’s watermark to other accounts you select
Both buttons are inside the Watermark section of the social account settings.
Quick actions (right panel)
These controls manage edits without redoing work.
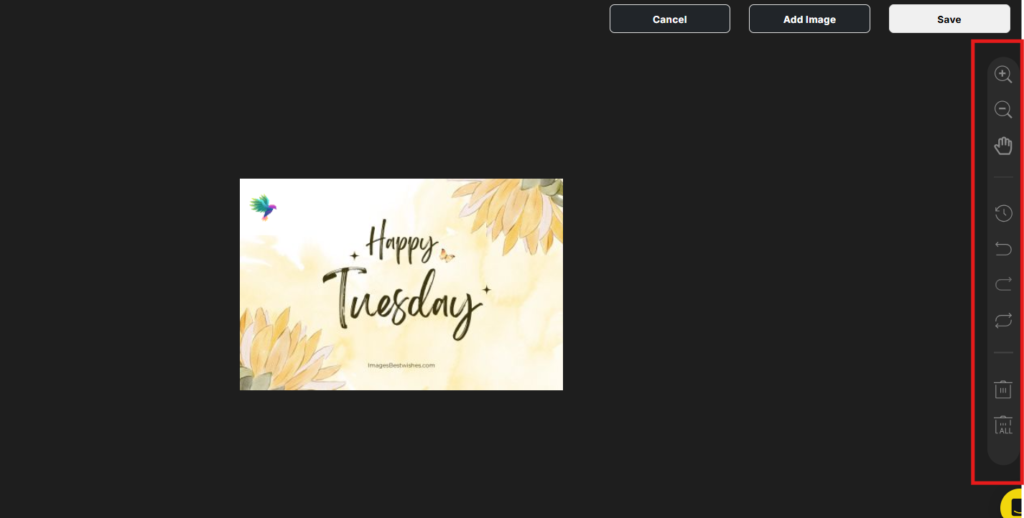
Common quick actions include:
- Undo / Redo
- Reset (remove recent changes)
- Delete selected item
- Delete all edits
- Zoom controls (zoom in/out and move around the canvas)
Frequently Asked Questions
Q1. Where is the Image Editor in RecurPost?
Upload an image in a post, hover on it, open the image options, then select Edit Image.
Q2. Does editing change the original image on the computer?
No. The original file stays the same. Edits apply to the version saved inside RecurPost.
Q3. Can the image be edited again after saving?
Yes. As long as the post is still being edited, open Edit Image again and make changes.
Q4. A platform size is not listed in Crop presets. What to do?
Use a custom crop, adjust the frame manually, then save.
Q5. The edit is not showing in the post preview. Why?
Confirm that Save was clicked inside the Image Editor pop-up, then save the post in the composer.
Q6. Can a watermark be made lighter?
Yes. After adding the logo/watermark, adjust Opacity to set the transparency level.
Q7. What is the difference between the Image Editor watermark and auto-watermark?
The Image Editor lets you manually place a logo on one image at a time. Auto-watermark stamps your logo on every image post automatically. It runs in the background with no extra steps per post.
Q8. How do I remove the workspace watermark from just one account?
Open that account’s settings and scroll to the Watermark section. Click Remove next to the inherited watermark, then click Save. Only that account loses the watermark; the rest of the workspace stays the same.
Q9. Can watermark settings be copied to multiple accounts at once?
Yes. In the Watermark section of any social account, click Copy to other profile(s). Pick the accounts you want and click Copy watermark. The image, opacity, size, and position all carry over.