
RecurPost supports connecting a wide range of social media accounts. Supported account types include:
- Facebook Page
- Facebook Group (to share a post via push notification)
- Facebook Profile (to share a post via push notification)
- LinkedIn Personal Profile
- LinkedIn Company Page
- X (Twitter) Profile
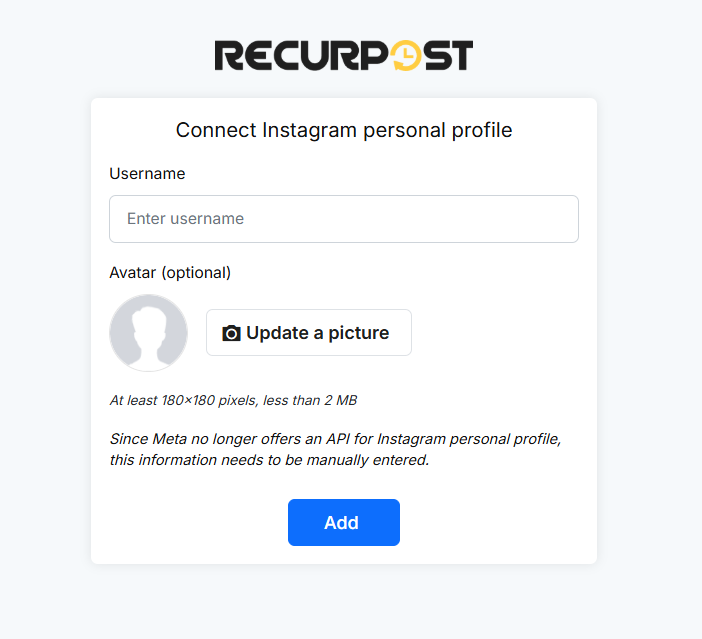
- Instagram Personal Profile (to share a post via push notification)
- Instagram Business Profile
- Google Business Profile
- Pinterest Board
- TikTok Profile
- YouTube Channel
- Threads Profile
- Bluesky Profile
Note: Facebook Profile, Facebook Group, and Instagram Personal Profile are managed through push notifications, so options like direct publishing and Quick Social Account Link are not available for these accounts.
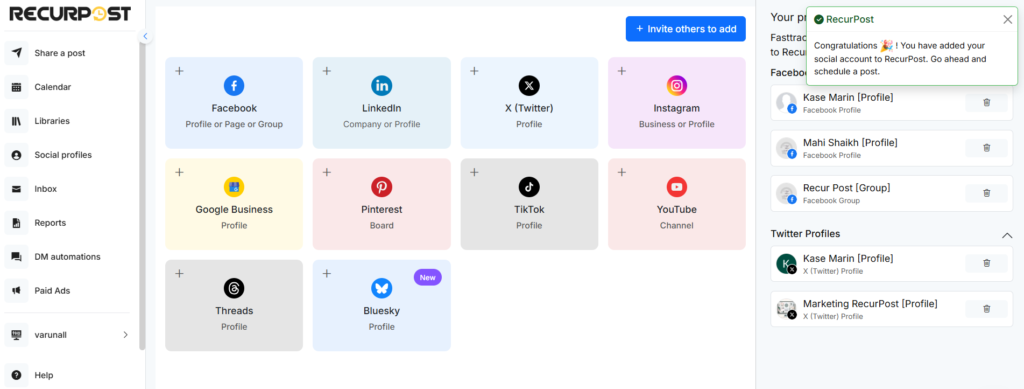
These appear under Social Profiles in your dashboard, and you can schedule posts to all of them. RecurPost connects via each platform’s official API (we never see or store your login credentials). This ensures a secure connection and maintains your privacy.
RecurPost’s Social Profiles dashboard can show multiple connected accounts from various networks. For example, you can link Facebook Pages and Groups, Instagram Business or Personal profiles, LinkedIn Pages, YouTube channels, Pinterest boards, and more. After adding accounts, the dashboard lists each profile so you can schedule content to all of them.
Note: Your plan limits the number of social accounts you may add; see the pricing page for details.
Let’s see how to add a social account on RecurPost.
How To Add Social Accounts on RecurPost
To add your own social profiles:
1. In the left menu of the RecurPost dashboard, click Social Profiles.
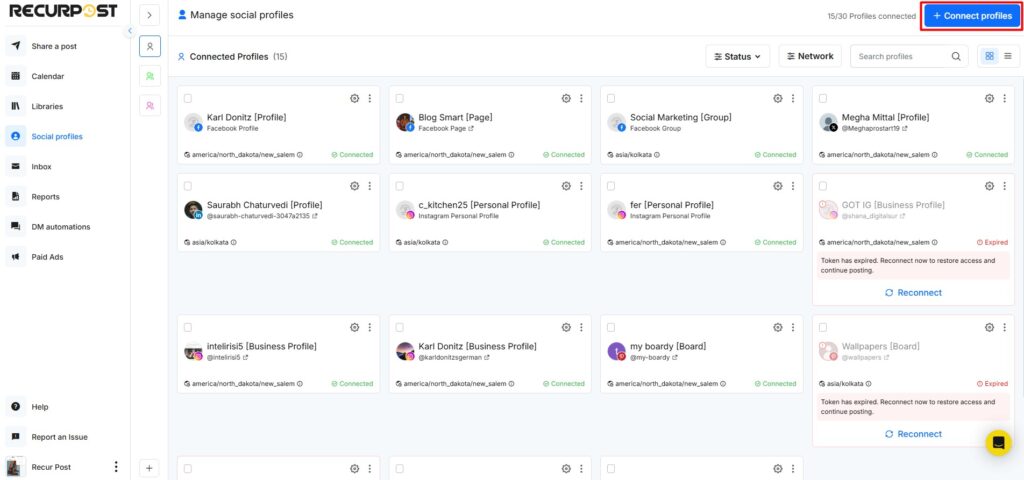
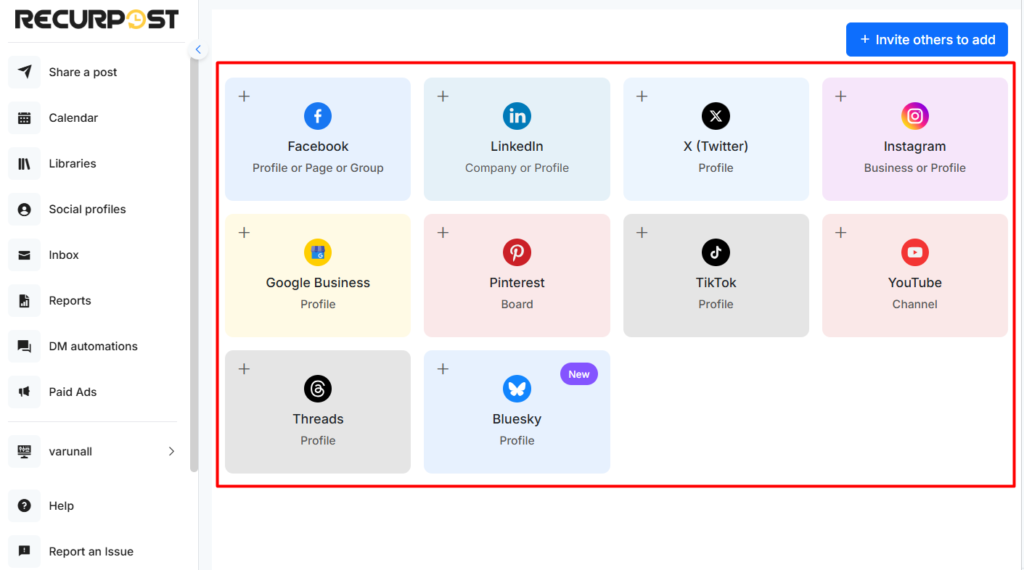
2. On the Social Profiles page, click + Add Social Profiles (usually at the top right). A pop-up will appear with all supported networks.
3. In the pop-up, click the platform icon and account type you want to add.
For example, to add a Facebook Page, click + Page under the Facebook logo. (You may need to be logged into Facebook in your browser.) Similarly, click + Profile for a Facebook Profile, + Group for a Group, LinkedIn Profile or Company Page, +X (Twitter), +Instagram Business, +Instagram Personal, +Google Business Profile, +Pinterest, +TikTok, +YouTube, +Threads, or +Bluesky as needed.
4. You will be prompted to authenticate with that social network. Enter your credentials or choose the appropriate account to authorize RecurPost. (Remember, RecurPost never sees or stores your password.)
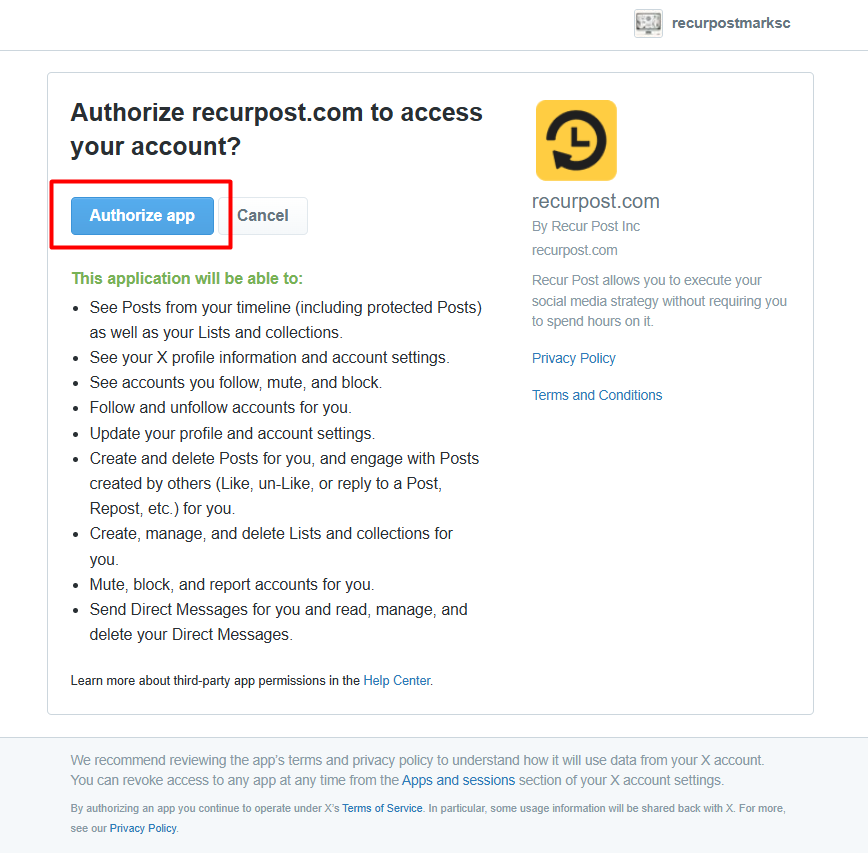
Important: During this process, the social platform will ask you to grant permissions (such as posting rights and reading account data). Approve all requested permissions; if you deny any permission, RecurPost will not be able to post on that account. For example, Facebook will ask if you want RecurPost to manage posts on your behalf.
5. After logging in, you will see a list of available pages or profiles for that platform. Select each item you want to connect and click Add. When finished, click Done or Confirm. The selected profiles will now appear in your Social Profiles list.
After adding accounts, you will see them listed in the Social Profiles page. Keep in mind that the number of accounts you can add depends on your subscription plan. (Refer to our Plans & Pricing for details.)
Inviting Others to Add Accounts
RecurPost provides an Invite feature so clients or team members can connect their own social profiles without sharing passwords. To use this:
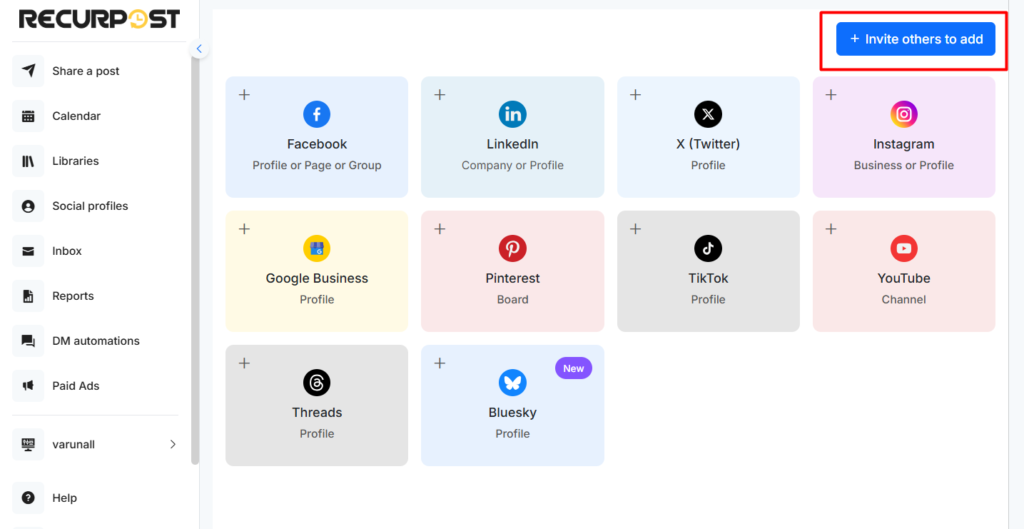
1. On the Social Profiles page, click the Invite Others to Add Social Profiles button (or Add via Link), usually located near the + Add Social Profiles button.
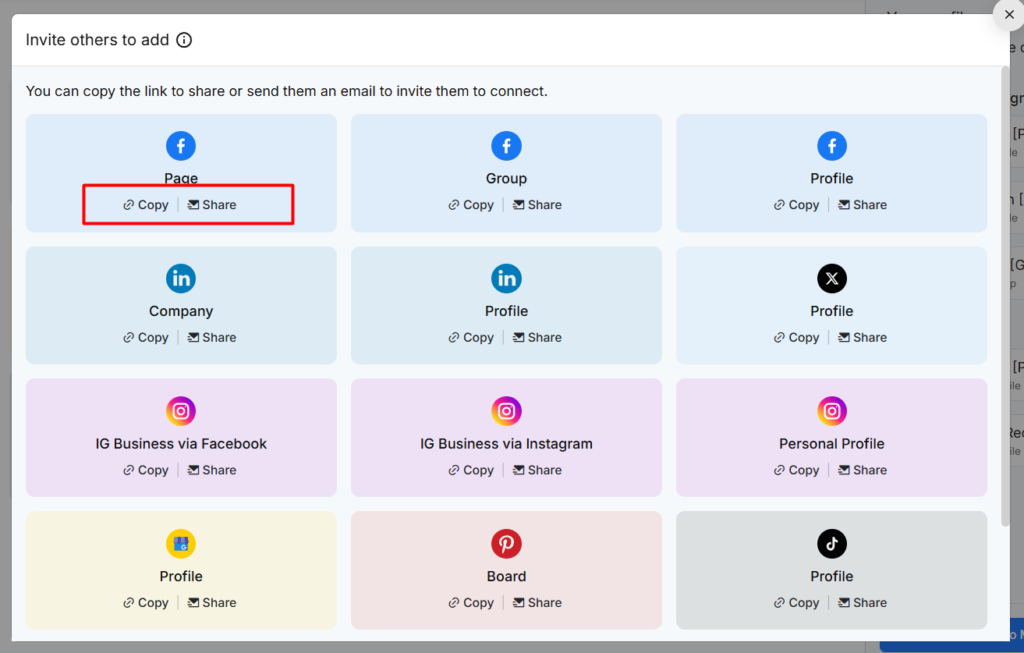
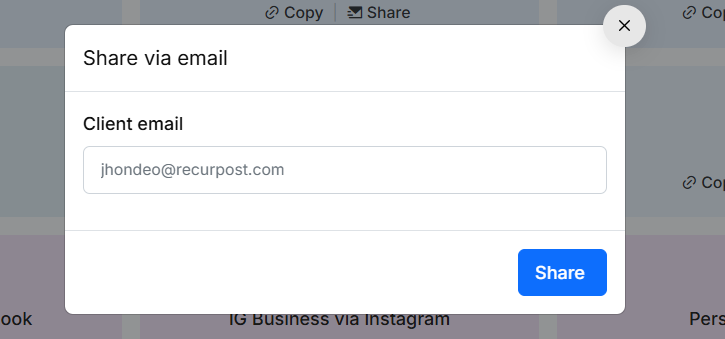
2. You will see options to Copy Invite Link or Send Email Invite. Choose Copy Link to copy the unique URL, or click Send Email and enter the client’s email address.
3. If you copied the link, send it to your client via your preferred method. If you sent an email, the system will email the invite.
4. When the client receives the link, they open it and log in to their social account. The link will prompt them to authorize RecurPost for that specific profile. Once they click Approve or Authorize, the account is automatically added to your RecurPost Social Profiles list.
This process does not require you to ever handle the client’s credentials. It uses a secure connection and keeps both parties’ data safe. (Clients can revoke access at any time from their side if needed.)
Most of this process is done through the RecurPost web app, but some steps may use the mobile app. For example, if a client opens the invite link on their smartphone (as shown above), they will login and approve from their device. Similarly, for personal accounts or groups (which cannot be posted to directly), RecurPost will send a push notification to the connected phone at posting time. By tapping the notification, you or your client can post content to those profiles.
How To Delete Social Accounts in RecurPost
You can remove/delete multiple social accounts at once in RecurPost:
1. On the Social Profiles page, select the checkboxes next to each account you wish to delete. A Delete Selected or Remove button will appear.

2. Click Delete Selected. Confirm the deletion when prompted. All selected profiles will be removed from your RecurPost account in one action.
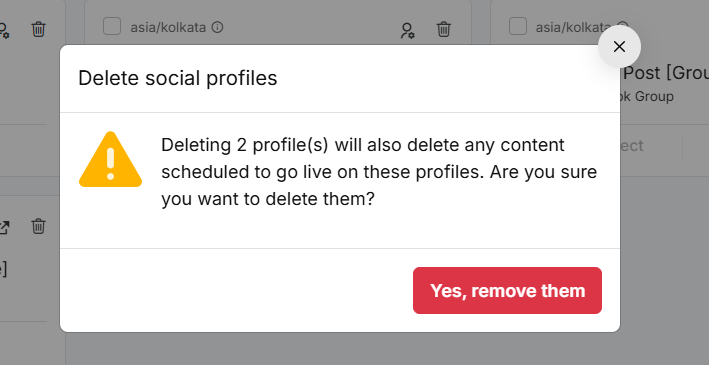
Previously, deleting an account required clicking the Trash icon for each profile. Now the bulk delete feature streamlines cleanup. (For single-account removal, you can still click the trash icon next to that profile.)
Permissions and Notifications
- Permissions: Each added account requires approval of certain permissions (posting, reading data, etc.) from the social platform. Always allow all requested permissions during setup. If you skip granting a permission, RecurPost will be unable to manage or publish to that account.
- Push Notifications: Facebook Profiles, Facebook Groups, and Instagram Personal profiles cannot be posted to directly via API. Instead, RecurPost will deliver a push notification to your mobile device at posting time for those accounts. (This is a platform limitation.) Ensure you have the RecurPost mobile app installed and notifications enabled so you can complete those posts.
You may also refer to our video tutorial on adding social accounts here.